

REVIEW: Peli Case Air 1535 - A Proper Hard Case!

One thing that you soon learn with photography and videography is that there are a lot of ways to waste your money. I have shelves full of gadgets and gizmos that were all intended to make my life as a photographer better and you can already guess, most of them are just gathering dust. However, some products are a ‘no brainer’ when it comes to investment and I class the Peli Air 1535 in that category.

Peli is the go to brand for many people when it comes to hard case protection for their camera gear as well as many other industries. So much so, we almost forget that Peli is just the brand name, yet we refer to these styles of hard cases as ‘Peli cases’. So when I had the opportunity to try one out for myself, I jumped at the chance.
PLEASE NOTE: I WAS SENT THIS ITEM FOR REVIEW BUT NO OTHER PAYMENT OR CONTROL WAS EXCHANGED FOR PUBLISHING THIS UNBIASED REVIEW

The Peli Air 1535 was the option that I plumped for as it offered the best mix of portability and protection as well as plenty of storage space. You may have guessed from the name, the ‘Air’ indicates that it is indeed travel friendly, being the maximum size that can be taken as carry-on luggage and TSA approved. This is often an area of pain for photographers as we daren’t let our precious gear be stowed anywhere else, so being cabin ready is the perfect size.


Furthermore, the most obvious selling point of a case like this is the insane levels of protection that it offers us. I for one have had bad experiences with other camera bags in terms of damage not just from bumps and bags, but also gear shifting around inside the bag which still fills me with dread to this day. Peli cases are renowned for their toughness and the super-light proprietary HPX² polymer construction offers crazy levels of protection whilst not weighing you down - the case weighs 3.94kg when empty.

The cases are not just built tough though, they are also waterproof, dustproof and crushproof which if you are as clumsy as I am or just prone to getting stuck in inclement weather, like I am - makes for great peace-of-mind. The good stuff doesn’t even end there though, the cases has wheels, rugged handles, excellent hinges, awesome locking mechanisms and that’s before we even look at the countless options available for the interior.

Features, Features and more Features
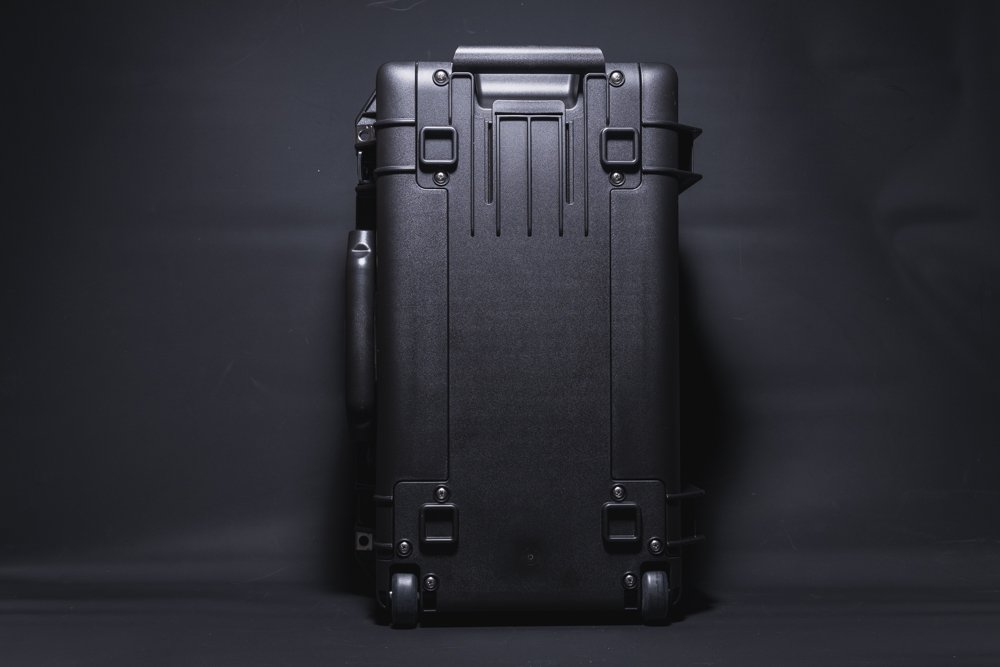
Looking closer at some of the main details of the Peli Air 1535 and the first thing you notice when picking up the case is the incredible build quality. It feels robust but very light and portable. I’m not ashamed to admit my first instinct was to throw it down some stairs! I didn’t, not for fear of the case breaking but for what damage it would do to everything else! The handles feel solid and the hinges are firm and reassuring.

This case has some very cool tricks up it’s sleeve! The O-ring seal around the lid of the case means that this thing is waterproof and not just ‘OK in a light downpour waterproof’ - like drop it in a lake waterproof. I’m obviously not advising that and certainly wasn’t going to test it out but I believe it - it is IP67 rated! It even has an automatic pressure equalisation valve that keeps water out and means that the case won’t just explode open with pressure changes - I mean, that’s something I’ve never worried about but now I can worry even less!

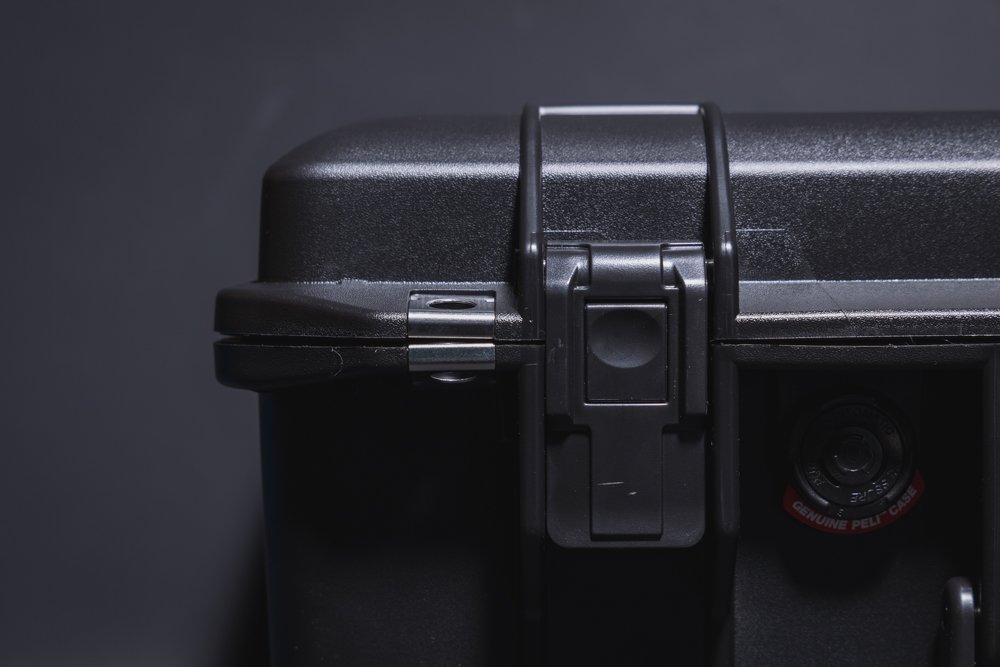
The stainless steel padlock protectors and ‘Push and Pull’ latches feel robust and give a satisfying click! The wheels are smooth and glide along pavements and the retractable trolley handle is sturdy and reassuring to use. However, the biggest benefits to us photographers is what lies inside it’s spacious 27 litre interior and the differing methods of organising our gear.
Tough on the outside, soft in the middle
So we know the exterior is pretty well protected but what about the interior? Well there are multiple different options for ‘padding out’ your Peli Case. One of the simpler yet more effective options is the foam insert. You can cut and modify this to suit your own desire and if I was lucky enough to be carrying an Arri or super-high end cinema camera, this is how I would do it - offering maximum protection!

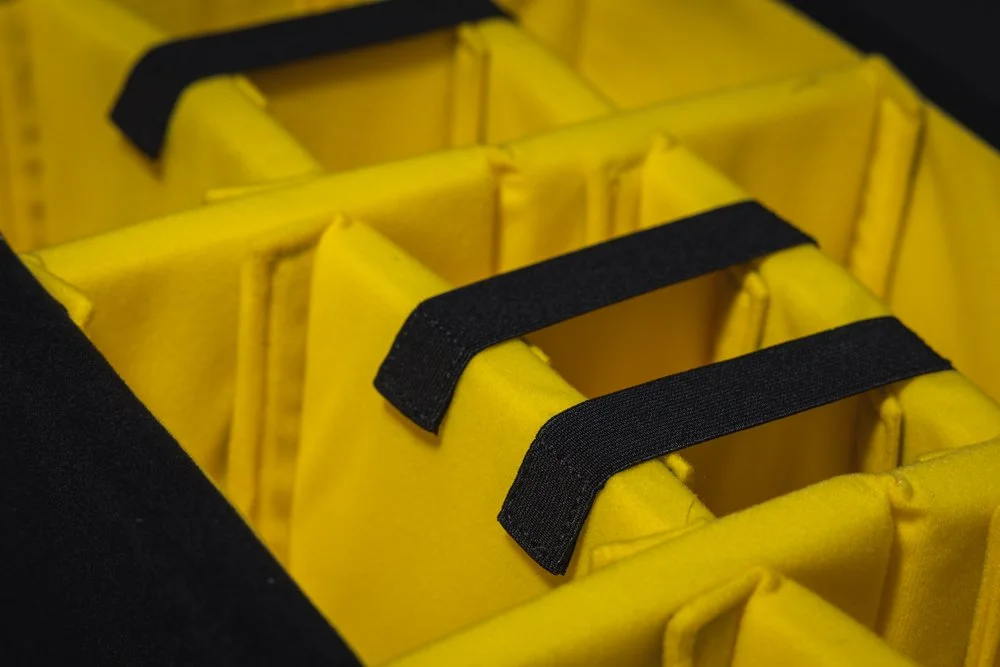


However, most of us will be carrying at least one or two camera bodies, multiple lenses and a host of other accessories. For this, there are two great options. Firstly, there are the padded dividers. They are similar to what you may find in a traditional camera bag but they feel a bit more sturdy and are very versatile in how you can configure them to suit your needs. One tip is to lay your gear out in the case so you get a feel for how it will all fit before adding the dividers.


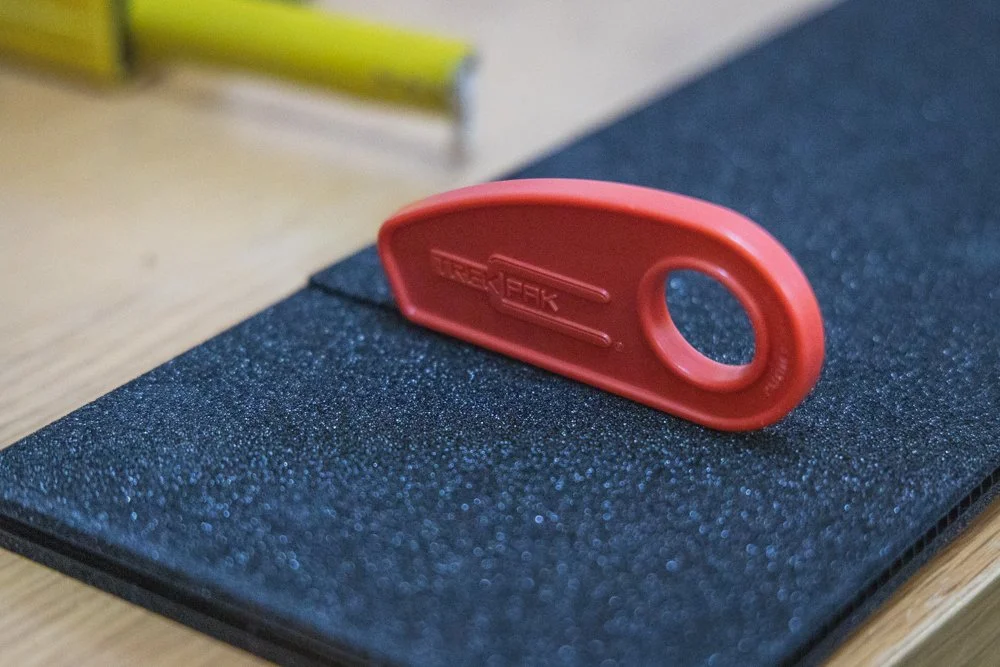
Secondly, there are the awesome ‘TrekPak’ dividers. This is a really neat solution that you cut down to size using the supplied blade tool and use pins to join sections. It works really well and still offers some degree of versatility. However, as you are literally cutting the dividers down to size, it pays to thoroughly plan out your storage needs as this feels like a more permanent solution. If you do similar jobs and use the same gear frequently (such as weddings or portraits etc) this is a really great option.


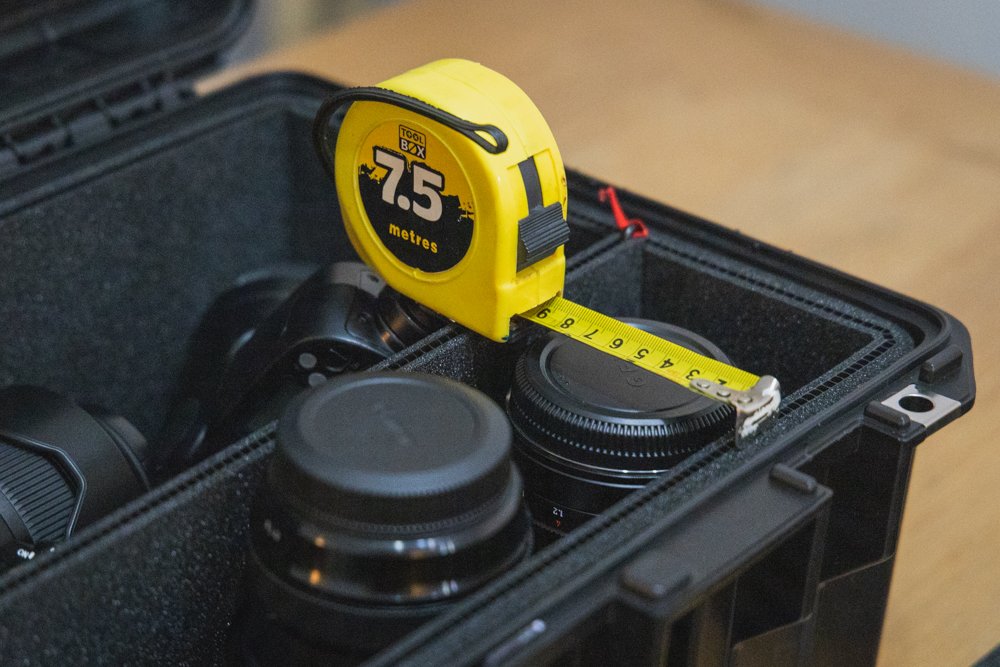
One thing to mention here is to really take the time to plan out where your gear will go within the case. It’s very easy to make a mistake and end up wasting valuable ‘TrekPak’. Even worse, you may plan it all out meticulously only to find that you are just short! So it is really worth planning accordingly before cutting away and costing yourself a fortune! Even the note that comes with the TrekPak reminds you to ‘Measure twice, cut once!’ sage advice…
Video Source - Shane Bethlem via YouTube
Cons
I clearly have a lot of good things to say about this case so I thought I would start with the negatives, as let’s face it, that’s what most people will want to hear about! In complete honesty, I really struggle to find any. That’s a bit of a copout answer so I will offer a few but again, it’s a bit tough to say they are absolute negatives when this case offers so much.

Firstly, there is the price. Depending on what divider system you plump for, this case could set you back anywhere between £290-£450 and there is no getting away from the fact that it is expensive! It is easily countered with the fact that the case is virtually indestructible in everyday use and Peli’s limited lifetime warranty should have you covered in most ordinary situations. However, as an initial outlay, it feels steep and many will be tempted to source a cheaper alternative. This may end up being a false economy if those cases are not built to the incredible quality of the Peli’s

Next up is the somewhat limited versatility of the case. I’m going to contradict myself massively here, in particular when we look at the interior options later. However, I feel these cases are aimed more at people who have specific needs for a hard case, they travel a lot or are in busy production environments where gear isn’t exactly looked after. For most photographers in a studio scenario or landscape photographers, lugging a hard case around doesn’t really seem logical - so again, what is your use-case for a hard case?
Pro’s
As mentioned, I really struggled to find any cons but for the Pro’s - I could be here a while, so I’ll keep it brief. As you would expect from a brand with a reputation like Peli’s - the case does exactly what you expect it to. It is built like a tank and I have had to resist the urge to try to destroy the case for two simple reasons, the cost and the sheer embarrassment of probably not being able to! So I will spare my blushes and just say it’s very tough!

One of the biggest benefits to me was the fact that it has wheels! As a non-driver, I find myself lugging gear around on my back and at the tender age of forty-something, that is starting to take it’s toll. However, getting the weight off my back and onto the ground is a gamechanger. One word of caution though, the wheels glide smoothly along pavement and airport concourses but the case does feel ‘bumpy’ on rougher terrain. It’s a good thing the interior is so well padded!


That interior is maybe the biggest pro of all, the versatility of foam, padded or the exceptional ‘TrekPak’ dividers make this almost ideal for any type of photographer or videographer. I struggled to commit to the TrekPak purely on the basis that my gear needs to change considerably from shoot to shoot. However, the padded option allows you to construct the interior to suit whatever gear you are carrying and has been my default when using the case.
I added the additional lid organiser and for me, this elevated the Air 1535 to another level as it gave me dedicated spaces for the kind of gear that always seems to get lost in my other bags. In particular for video shoots, having pockets for cables, audio accessories, batteries, memory cards and smaller items was perfect. Knowing that they wouldn’t just be rolling around in my bag was great peace-of-mind and not having to worry that I would lose something every time I opened the bag was a real relief.

Video Source - RA Visuals via YouTube
SUMMARY
So would I recommend this to other photographers and videographers, well it’s a pretty easy ‘yes’ but I would also offer a word of caution. There is absolutely no doubt that the Peli case offers unparalleled levels of protection for your expensive camera gear. But much like everything in life, that comes at a cost and in this case, it’s that initial outlay of cash. I would say, as someone who has suffered the agony of breaking camera gear that I believed to be well protected in a traditional camera bag - that cost is justified by the levels of protection offered and much like insurance, you’ll only really understand its true value when you need it!

The other piece of advice that I would offer is to have a clear goal in mind of why you need a case like this. Are you going on a particular trip where you need the extra protection? Do you work in environments that can leave your gear particularly vulnerable? Or, like me, are you just cursed with the clumsy gene that makes you a danger to camera gear! If any of those are true, then it’s probably a good investment!
I have been very impressed with the Peli Air 1535 and can already see a future where I pick up a couple of different cases from the extensive Peli line-up.

Tilly approved…

About the Author - Ross Jukes is a professional Photographer and Videographer with over a decade of experience. Working in both Digital and Analogue formats, Ross has worked with international clients, had his worked published numerous times and exhibited his work extensively. With a passion for all things photographic, Ross combines his experience, enthusiasm and dedication to his art form to create engaging and educational content for the photographic community.
Disclaimer: All links to Amazon UK/US are affiliated links - you will still pay the same price but I will receive a small commission for providing the link. All information provided in this blog is intended either for educational or entertainment purposes and is accurate to the best knowledge of the author. However, further research/professional advice should be sought before making purchases/implementing any advice given and no responsibility is taken by the author or parties mentioned here within.