


REVIEW: Adam Audio A5X Studio Monitors

I’m a big believer in quality products, you really do get what you pay for. I use this ethos when buying equipment and when sound quality of videos is crucial, having good studio monitors for checking sound is critical. That and the fact that there is always music playing in my office so only the best will do! Will the Adam Audio A5X’s cut it? Read on…
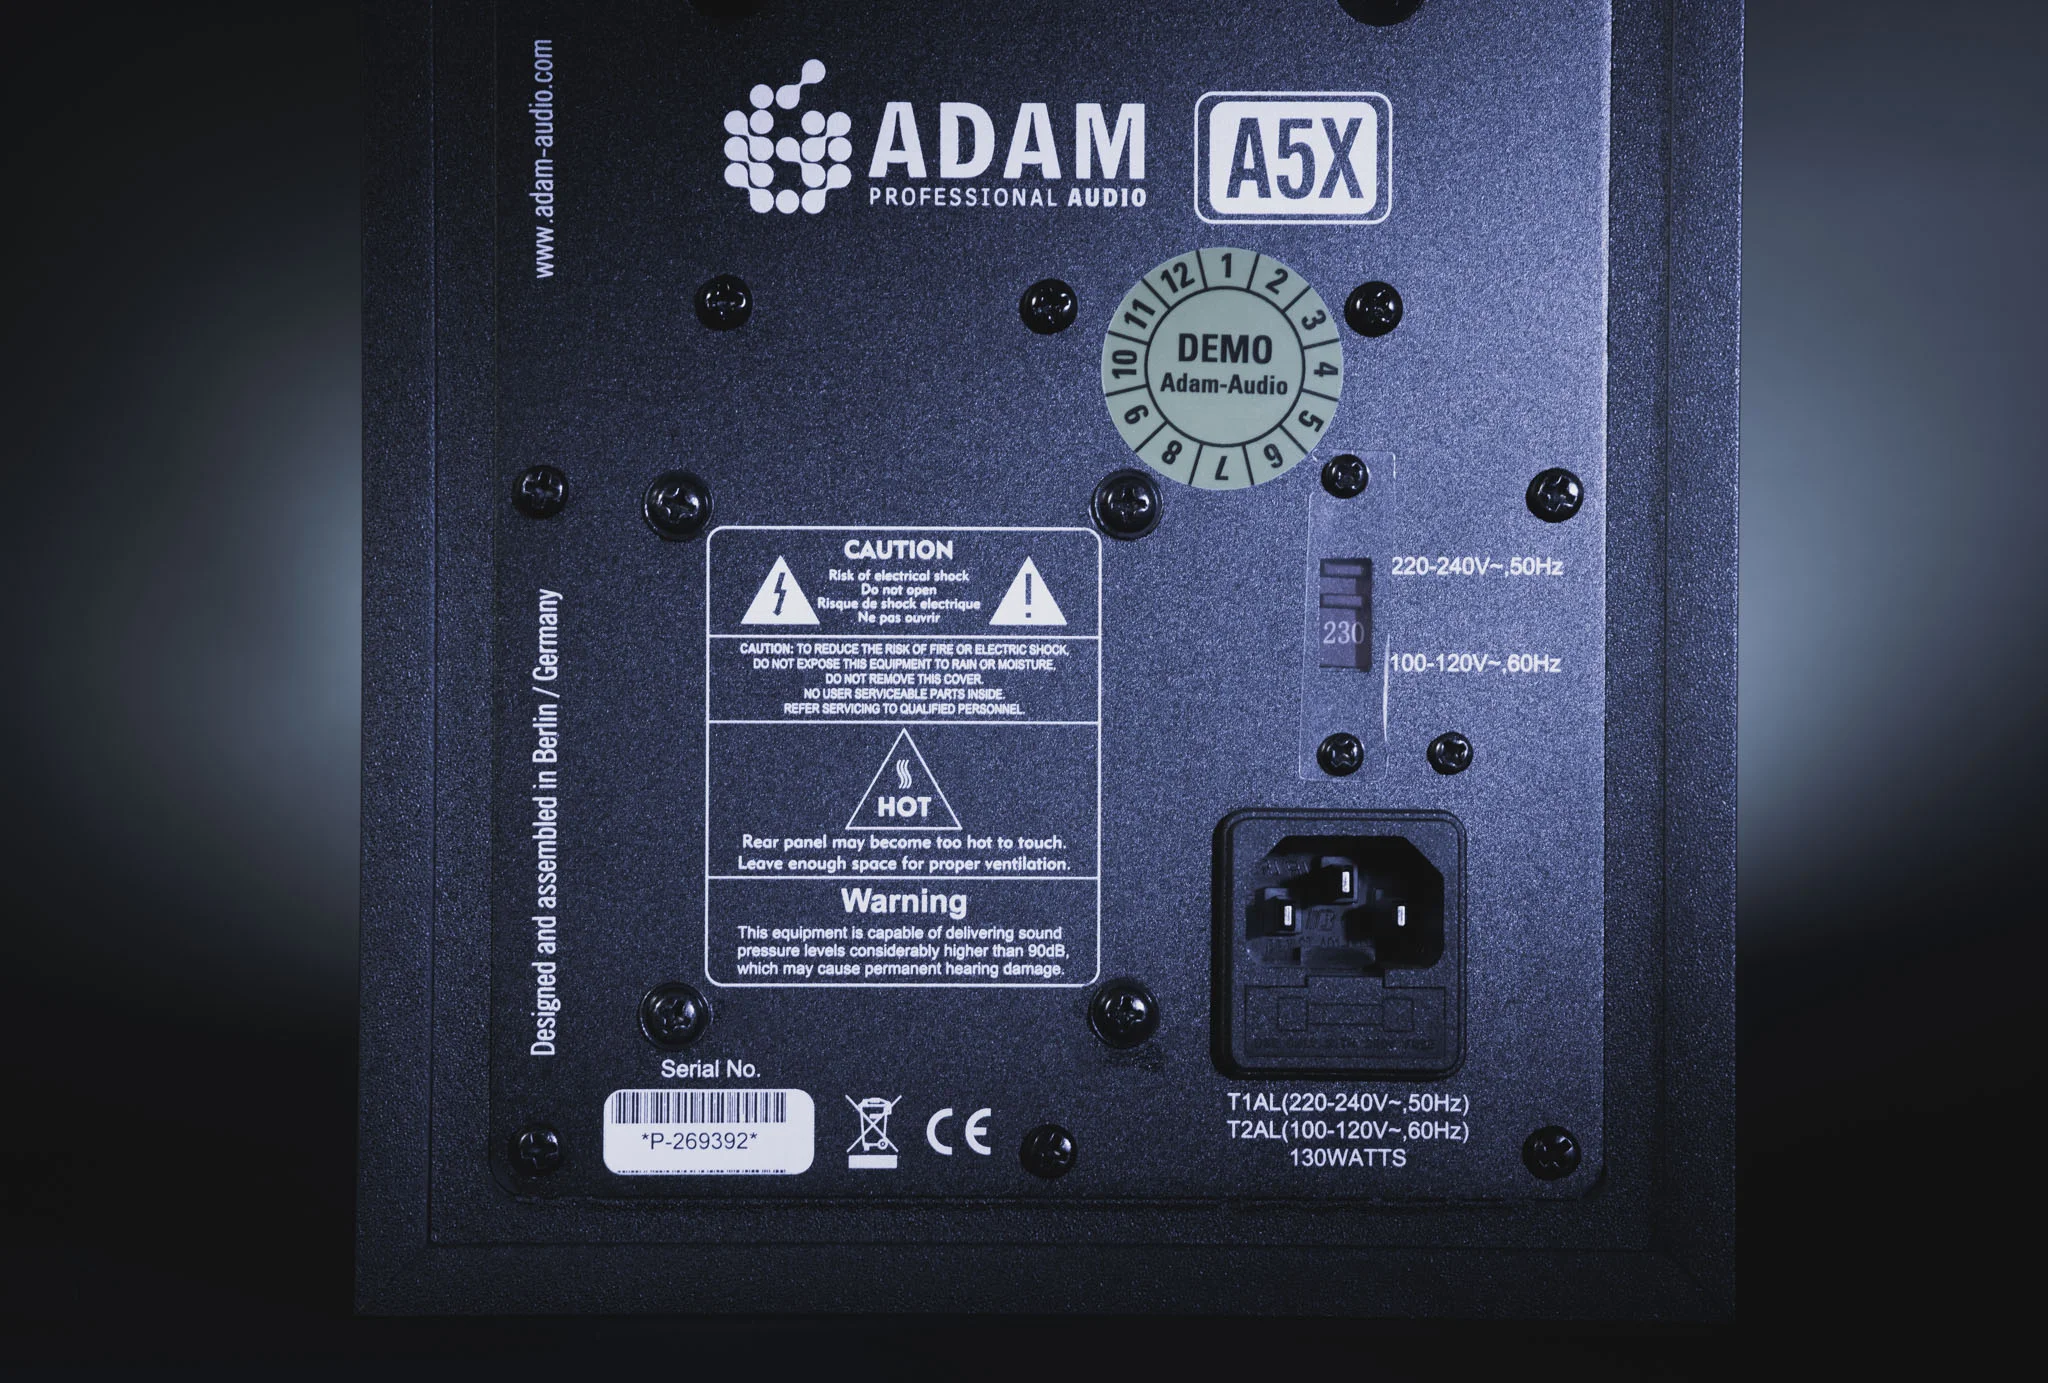
Specifications
The A5X’s are a nearfield studio monitor that have proven to be popular with music professionals. The key specs are:
Adam Audio’s ‘X-ART’ Tweeter
5.5“ Woofer (Carbon/Rohacell/Glass Fiber)
Amp. Power RMS / Music: 100 W / 150 W
Frequency Response: 50 Hz - 50 kHz
Max. SPL per pair at 1 m: ≥110 dB
Stereolink
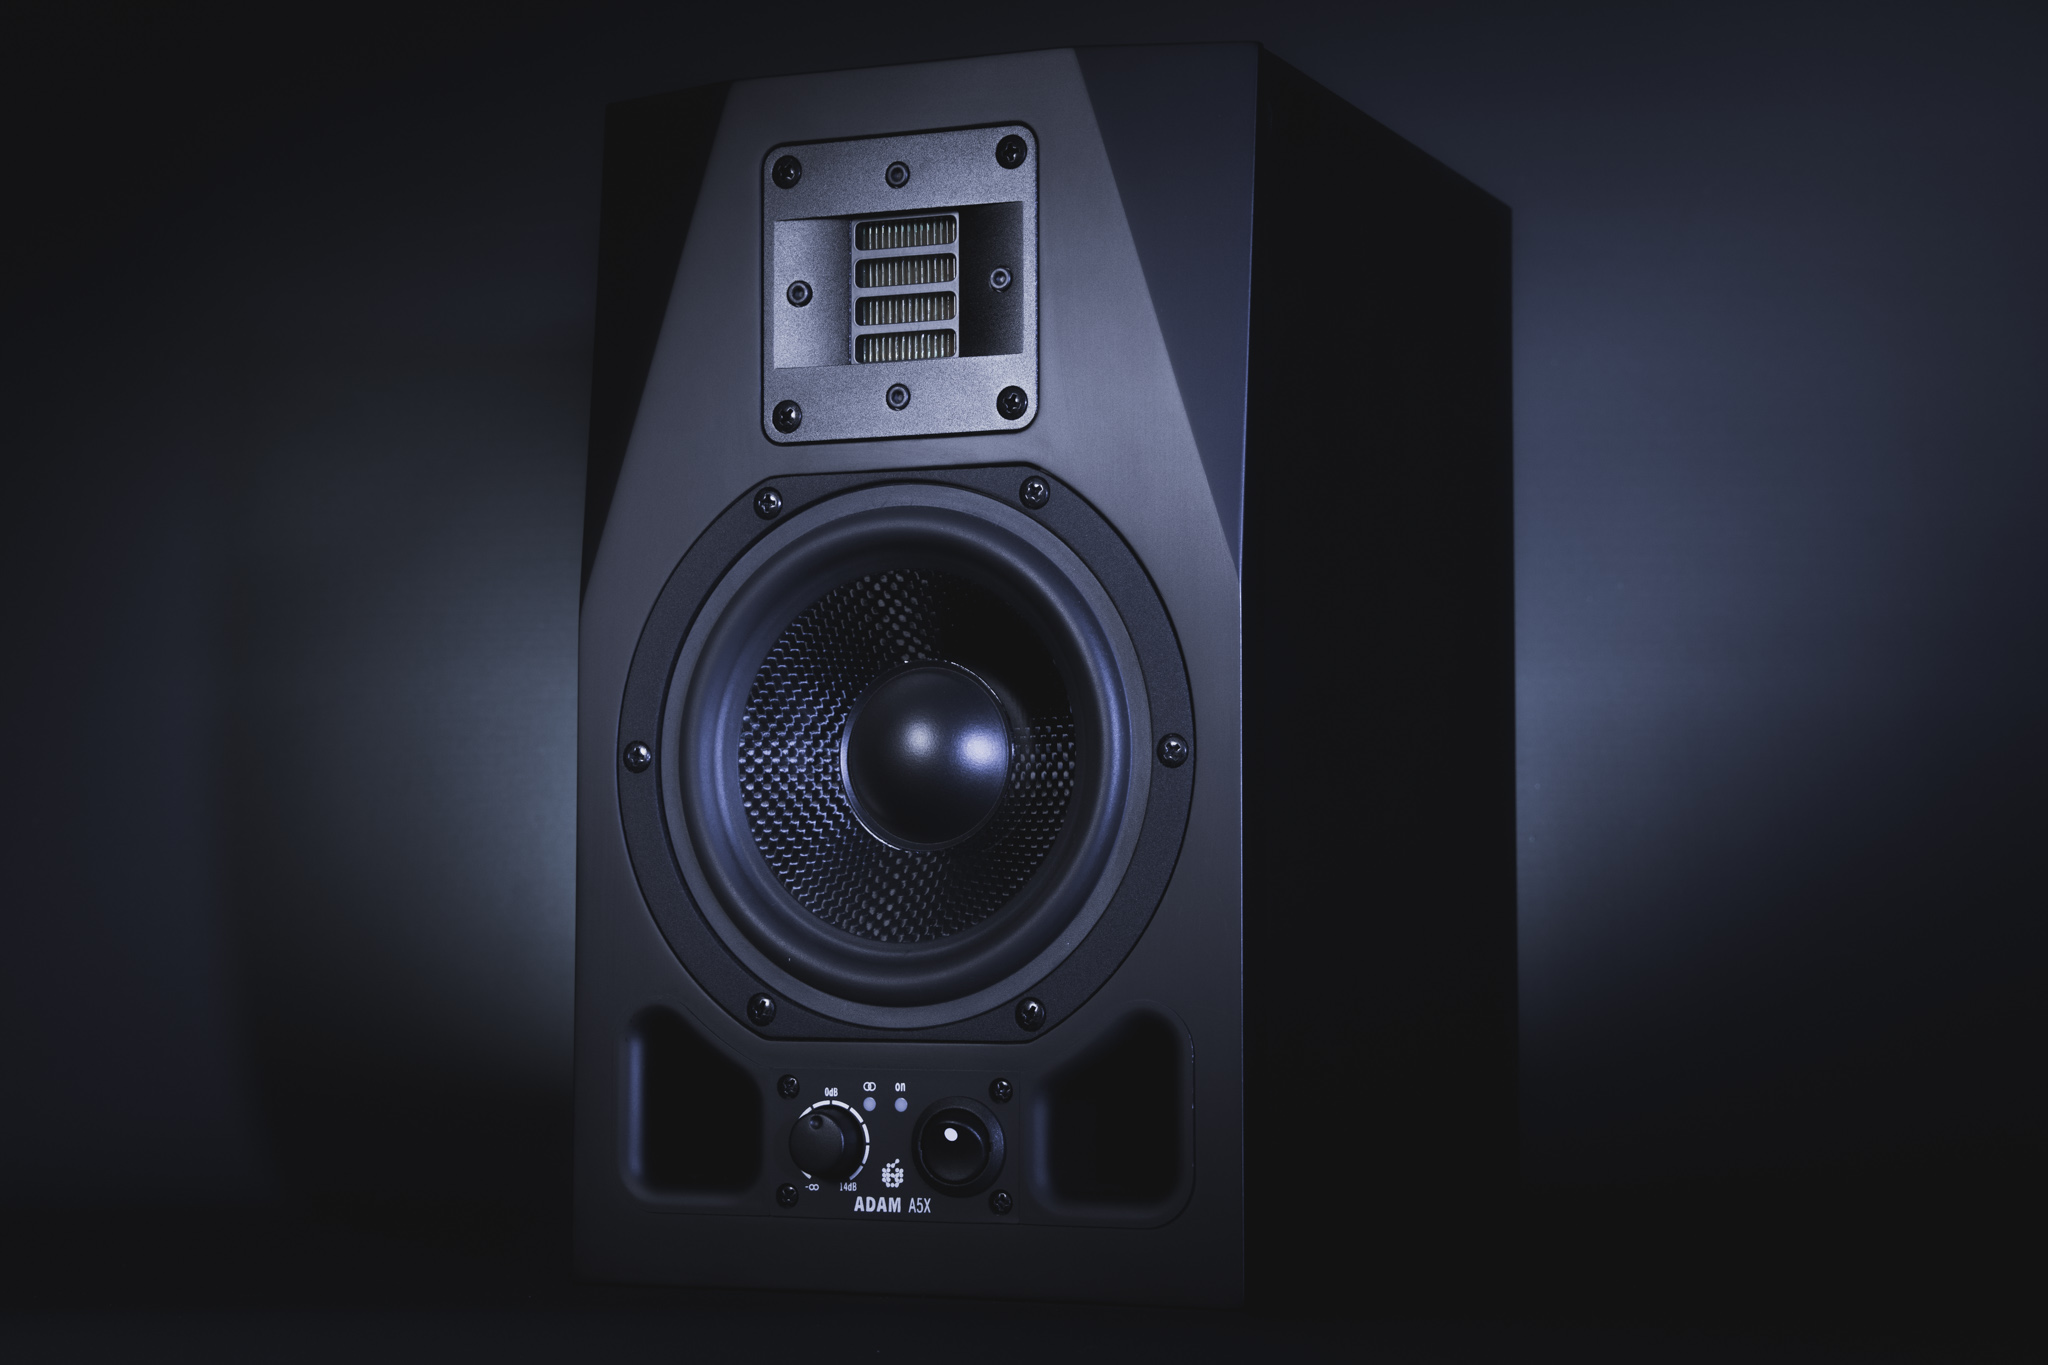
Build Quality
Easily one of the most impressive things about the monitors (and certainly the first thing you will notice straight out of the box) is the quality of the build. The wooden cabinets are predictably weighty but all of the fittings (the tweeter mount, cone, inputs on the rear) all feel rigid, well built and properly manufactured. There are clearly no shortcuts here and being hand-built in Germany, you wouldn’t expect anything less.
However, equally as impressive is the functionality. Well thought out design is very apparent, such as the on'/off switch and bass tunnels actually being on the front of the monitors, not only making them easy to use but optimising the sound in smaller rooms, which is predictably, where monitors like this will be used. Overall, they feel like a very high quality product and there are no disappointments in this department.


Sound Quality
So this is the biggie, does the sound quality live up to the circa £600 price tag? Well, in short, yes, and then some. From the moment that I plugged these into the DAC and ran the first track through them, I have been incredibly impressed. I have even had to get a second opinion from friends who ‘know their stuff’, just to make sure I wasn’t being too over the top!
So what sets them apart? The first thing that strikes you is the clarity that the X-Art tweeter adds, but more of that later. The bass is equally sharp, with no muddy tones and the ‘room’ micro controls on the rear, really help you fine tune the monitors to suit your space. All though they have a fairly narrow dispersion, it will be worth considering placement of the monitors but rest assured, when you find the sweet spot you’ll know. The first few tracks that I listened had me twisting my head around in circles as I was picking up instruments left, right and centre - they really do provide a fantastic sound image.
I almost think that they are a bit of ‘overkill’ for anyone who is not producing music on a regular basis (me included!) but they are incredibly accurate and a joy to listen to with no audio-fatigue experienced whilst using them. They carry plenty of bass (though an additional sub-woofer is available) but unless you live in a detached house in the middle of nowhere (or own a recording studio!) I don’t think you’ll require any additional low. Additionally, at 150 watts, you won’t have to push them hard before you have some very upset neighbours, should that be something you’re interested in!

The Star of the Show…
A special word has to be said about the X-Art tweeter. It is a Ribbon Tweeter, something that I had not (knowingly) experienced before and it completely blew me away. To be honest, explaining how it works would take me way out of my comfort area as I’m not a studio technician, but if you fancy learning more about the technicality of it, you can read up HERE
The only thing that I would say is that it really needs to be experienced to appreciate the differences it makes. Having previously used the M-Audio BX5 D3’s - I would struggle to go back to them, having heard the quality and performance of the A5X’s. The performance of the mids & highs really does lift these monitors above the competition.


Conclusion
These are the best studio monitors that I have used by some distance. Stepping up from the M-Audio’s, there really is no comparison. The sound is so much clearer and crisper and you can really feel the difference that the X-Art tweeter makes. I would say that only studio professionals would need (or even be able to differentiate between) anything more expensive than these monitors. I certainly feel that you would be getting into the realms of diminishing returns with more costly monitors.
Should you purchase these monitors? That really is your choice but if they fit your budget, they should be very seriously considered. I would be amazed if you didn’t think they were anything other than a bargain considering the quality of the sound.
For more information, visit Adam Audio

VIDEO - Canon EOS-R Preview
So I have took the plunge and gone and bought myself a new camera! More specifically, the much anticipated Canon EOS-R - A new full frame mirrorless option from the camera giant. Where as I have only had it for a couple of days, I thought I would share my initial thoughts on the handling and the feel of the camera with a full review to follow shortly, so don’t forget to subscribe to my YouTube channel!
REVIEW: Loupedeck+

Loupedeck have certainly made a splash in the photography market over the past couple of years. Ever since the launch of their inaugural product, many photographers have adopted the Loupedeck into their workflow. There really is something about being able to twiddle a knob that is far more satisfying (stop laughing!) than dragging a mouse around. I too, was an adopter of the Loupedeck way of life so when I heard that they had launched their updated model, the Loupedeck+ - I couldn’t wait to get my hands on it and have a twiddle!
The Loupedeck, for those that are not aware, is a physical controller for Lightroom, with pre-determined controls for everything from Exposure to individual hue & saturation dials. The benefit of this is that it speeds up your workflow as you are not scratching around with a mouse, trying to make minute adjustments and constantly having to go backwards and forwards, trying to find the perfect spot. The physical controls are responsive and accurate and once accustomed, you’ll wonder how you ever used a mouse in the first place. Still not convinced? Keep an eye-out for a video to follow which will show you in more detail.


First Impressions…
Straight out of the box, the plus feels like a premium product. It comes extremely well packaged and is presented beautifully in the all black packaging. The controller itself is plastic, which comes as a little bit of a surprise consider the price point. However, this actually makes sense, in particular if you are going to travel with the controller as it keeps the weight down. That being said, the plastic is clearly good quality and it has enough weight to it that it doesn’t feel flimsy. The dials also feel good quality with a rubberised touch and a distinct ‘click’ when rotated, to help with the ‘feel’ when in use. However, I would have liked a touch more resistance to them as they are quite easy to rotate and I would have liked a little more feedback - I’m sure this is just personal preference.
The controls are all laid out in a very logical fashion with the priority dials such as Exposure, Contrast and Clarity all being fairly central (which will suit both right and left-handed users) and the tonal controls and temperature controls more to the right. The function keys, such as undo/redo and shift & control etc. are all to the left of the controller, which again makes pretty good sense as they are used slightly less frequently. Finally, there is a good array of customisable buttons, but more of that later. Setting up the controller for first usage is also pretty simple. However, it does require downloading the appropriate software for your platform but once installed, it communicates with Lightroom pretty well and I certainly didn’t have any issues getting started.


In use…
As with it predecessor, the Plus certainly adds the element of speed to your editing. However, it does take a little bit of time to get use to. Very much like learning to type, it takes a while to understand where every dial and button is. When you get it (and it really doesn’t take long to get) it’s a dream, it just becomes second nature. There is certainly a benefit to having something tactile, that you can control your fine adjustments with. However, I did repeatedly keep finding myself having to have a quick glance down, to check that I was ‘twiddling’ the right knob.
One of the main upgrades is the potential for the Plus to be used with more than just Lightroom. It is now compatible with Skylum (formally Macphun) and Aurora HDR. This certainly adds value to the device and is great for those looking to get even more creative with their editing. However, it doesn’t stop there, it is also now compatible with Adobe’s Premier Pro video editing software. Though I have not tried this yet it is certainly appealing to people like myself, that produce photography and video - the idea of having one, tactile editing interface is very appealing.
The improvements continue with additional customisable keys and a ‘custom mode’ which allows you to take full control of all keys and dials. This really opens up the possibilities with the device. The keys are also now mechanical which give improved responsiveness so you always feel in control. In addition to the physical improvements, the configuration software has also had a spruce up and worked flawlessly whilst setting up.


Final thoughts…
I have always been a fan of the Loupedeck. I love having something tactile that I can use to edit and feel it gives you a lot of extra control over your editing. I am pleased to see some improvements but also would like to have seen a few further additions - notably Bluetooth. However, having used the Plus for a few weeks, I can’t really see how I would go back to the ‘traditional’ style of editing. There is simply something so satisfying about taking manual control over your editing to really nail your edits.
I look forward to seeing how the Loupedeck evolves over the coming years and guess that there may be software updates during that time, opening the Loupedeck+ up to even more versatile uses. Check out the trailer below.

VIDEO: REVIEW - FUJI X100F
I was very fortunate recently to spend a bit of time with the Fuji X100F. It’s a small camera that packs a big punch and you can read about it HERE - but if video is more your thing, then grab a cup of tea, sit back and watch the video below to see my full thoughts on the camera!
You can find more info about the camera at - Fuji X100F
If you are interested in purchasing, please find an affiliated link below. This will not cost you anything extra but I will receive a tiny percentage which will help me continue to make these reviews, thank you.
REVIEW: Fujifilm X100F

For a while now, I've been searching for the perfect camera for my style of shooting. I love my Canon 5D Mkiii, it's an absolute workhorse! I know it inside & out, but it's not exactly discreet. At the other end of the scale, I have a Sony RX100V, which is a fantastically versatile camera and excellent for video, but the ergonomics, awkward menu and painfully slow boot up speed make it difficult for street use. If only there was a camera somewhere in the middle, a 'do it all' kind of thing, well we may be looking at the solution!...
All show and no 'go'?...
The first that strikes you with this camera is the looks, it's a thing of beauty. I love Rangefinder style cameras and all of those external dials just add to the vintage feel. The X100F comes in black or silver (I plumped for the stealthy looking black). Picking the camera up, it feels light (469g), but solid enough that it feels like it would take a (minor) fall. The next big tick in the box is the ergonomics, the grip is perfectly formed and the dials and buttons are laid out in a pretty decent fashion, but more of that later. Finally, the physical size. Now I was a little surprised by this as I thought the form would be a little smaller, but it's actually a really good size and if you have larger hands (like me) it doesn't feel like a toy, far from it. On the flip-side, I think calling it pocketable may depend on the size of your pockets! Having carried a Ricoh GR for years, I was use to something that I could slip in a jean pocket. Whereas the X100F comfortable fits in a coat pocket/side bag, if you carry it in you jeans, expect to be asked 'is that an X100F in your pocket or are you just pleased to see me?'!

Although it's superficially pleasant, it's what's inside that counts and the X100F certainly doesn't let you down in that department. It boasts a 24.3mp, APS-C size X-Trans sensor. It has a fixed 23mm (35mm equivalent) f2 lens with a digital ND filter. The camera records 1080p video with frame rates from 24-60. The X100F also features a beautiful 2.3m dot hybrid LCD viewfinder with focus peaking. On the rear, you'll find a 3 inch LCD display, though the screen does not articulate. The camera also features a built-in flash, SD/SDHC/SDHX card slot, built in Wifi and USB 2.0 connectivity. On a final note, despite being fixed lens, the body is not weather-sealed. As you can tell from the specs, good things really do come in little packages.

Handling & Build Quality...
Right from the outset, I was in love with this camera. It felt natural in the hand and even though it seems a little strange to say it, it feels like a camera should. It's like you instantly know where all the dials and settings are, well almost all. There are a few minor grumbles, like the ISO selection being built into the same dial as the shutter speed, not sure why? One problem that did rear it's ugly head, which was knocking the dials whilst in my pocket. I know, I know, this is 'user' error and I could quite easily have put the camera in a case, but part of the beauty of this camera is the ultrafast start up speed, which is a god-send for street photography. However, way too many times I found myself staring at a dull or over exposed scene, only to find that I's knocked the exposure compensation in my pocket, by which time, the shot had passed. This is only a minor grumble and completely my fault, but one to bear in mind.
“I really didn’t want to leave the house without it, even popping to the local shop became a long drawn out adventure, just so I could take my new companion out on an exploration.”
Nonetheless, this is a beautiful camera to hold and use. Furthermore, the build quality feels, well, quality. The dials have a good firm 'click' to them, the body feels sturdy and and even though Fuji have clearly taken the time to consider the 'looks' of the camera, there is nothing there that isn't practical and tactile, it is quite an achievement. That lightweight and tactile feel made the camera a joy to use and meant that I really didn't want to leave the house without it, even popping to the local shop became a long drawn out adventure, just so I could take my new companion out on an exploration. One of the real joys of this camera though was the autofocus, the Intelligent Hybrid AF was incredibly responsive. I have always been pleased with the AF of my little Sony, but the X100F is certainly not a slouch and was ideal for capturing those split second moments in the street, it was a joy to use.

Image Quality...
There is no point beating around the bush, this camera creates beautiful images. Having grown use to my (now ageing) 5D Mkiii, using this camera showed me that the smaller, APS-C sensors (and in particular, the X-Trans 3 colour filter) did a fantastic job, rendering scenes in fantastic detail with colour science on a par with Canon's legendary colour wizardry. The sensor seemed to perform fantastically, even at low light and handled blacks wonderfully. Highlights, to me at least, seemed a little more of a challenge but that was only when I really pushed it. If you get a decent exposure, you're fine. My style of shooting (very 'run & gun') meant that I was constantly pushing & pulling the files, either under or over-exposing, sometimes intentionally and occasionally, accidental. However, I was surprised at how manageable the RAW files were, they seemed to have plenty of dynamic range and retained great sharpness throughout, thanks to that coupling of quality lens & sensor.
I will be the first to admit, my style of editing isn't to everyone's taste and the images that you will see below, may look faded and soft at times, this is my 'style'. However, the X100F is a very capable camera and can certainly delivered sharp and vibrant images. Although the lens may not be ideal for sports photography, the 8fps burst mode certainly came in useful for street photography. The f2 aperture made shooting in dimly lit situations a breeze and rarely did I find an image with any noticeable noise issues, which was a surprise coming from the full-frame 5D to see how well the smaller sensor handle lower light.

As good as it's predecessors?...
The X100F certainly builds on the success of the X100 'S' & 'T' - the differences are somewhat more practical improvements rather than revolutionary. Fuji have bumped up the pixel count from it's older siblings but the look and the feel of the camera are practically the same. This is certainly, in some respects, an 'if it's not broken, don't fix it' situation. Things like Facial Recognition, the speed of the AF etc. really set the X100F apart from the older iterations. This camera is a great option if it's your first delve into the Fuji line-up, but for those needing the added versatility of interchangeable lenses, knowing there are other options such as the X-Pro 2 and the XT-3 - Fuji have you covered. For me though, the X100F is very much a 'do it all' camera and if you can live with the fixed focal length, you're onto a winner.
One thing that Fuji does really well, is it's 'film stock' emulations, which the X100F continues to build on and deploy in great fashion. These are basically in-camera presets that emulate some of Fuji's historic range of film types. They work in a great way, though the output is Jpeg (obviously) and for the hobbiest, it's an easy way to 'see' what kind of looks you can achieve. I did not fully explore this as I was shooting RAW and have my own editing techniques, but it's nice to see Fuji continuing this tradition in it's newer cameras and opening up the options to those just finding out about film emulsions.


Everyday Usage...
The camera is an absolute joy to use, there is no doubt about that. I had one day in London with a few hours to spare around meetings. I couldn't wait to get out and shoot some 'street' kind of stuff. The X100F made this a breeze and ultimately, it was only me being an idiot that got in the way of me grabbing the shot. As previously eluded to, on occasions I would knock the exposure compensation dial without realising and then I would wonder why everything was under-exposed. Equally, I had been shooting some shots at f16 and completely forgot to change this for some of the night-time shots, making the cameras life incredibly difficult - This was me being stupid and rushing the shots rather than thinking - so I can not fault the camera for this (though I still like some of the photos, even if they are out of focus etc.). One of the other little treats on this camera was the Hybrid EVF - it is bright, clear and having all of the shooting info in the frame (and being able to see how the exposure will look before you take the shot!) certainly helps negate some of the accidental dial spins - but again, I was to blame for just ignoring the warning signs!
“Ultimately, this is a very capable camera that you will love to use and have no problem taking with you, practically anywhere. ”
The autofocus is lightening quick, the high ISO performance is fantastic, colours are beautiful - so there really isn't much to complain about. However, there are things that you need to 'get use to' such as the bizarrely placed ISO adjustment or the menu structure which, although it is clean and simply designed, is not the most intuitive at times. On the other-hand, there are customisable buttons to make your life easier and having those manual dials is a lot nicer than digging into menu systems like on the RX100V. Ultimately, this is a very capable camera that you will love to use and have no problem taking with you, practically anywhere.


Some practical stuff...
There are a few considerations to make with a camera like this. Mainly, is ‘what do you actually want to shoot’? There is no doubt that this camera can handle landscape photography, everyday family portraiture, I could even see it being used in more creative ways - but it really does jump out as a Street Photographers dream! So if you're going to be shooting all day on the street, there are a couple of other things to take into account. Most importantly is that 23mm (35mm equivalent) lens. It's a beautiful lens, though slightly prone to sun-flare (easily avoided by picking up a lens hood - shame it's not supplied though). The lens itself is wonderful, though in the great tradition of fixed length lenses, it does mean that you will have to 'zoom with your feet' and either move closer or further away to frame your shot. That big 24mp output does mean you have plenty of pixels to crop, but for those considering shooting street, you may need to closer to your subject!
On a different note, I found the battery life was great and barely noticed any drop in power, even after shooting for several hours. The rear LCD screen is lovely, it's bright and the switch between rear LCD and EVF when you bring the camera close to your face works as expected. However, I did find certain situations where a tilting LCD would have been useful so that I could 'shoot from the hip'. Equally, a touchscreen LCD would have been great for picking focus points or discreet shooting - but I have to say, the silent shutter mode and the well placed joystick for moving the AF point, meant that 'sneaking up' on scenes and grabbing a shot like a Ninja was easy and fun!


Conclusion
So to round things up, I have absolutely loved using this camera. It has become somewhat of an instant classic and I can see why. Fujifilm have an excellent reputation and if the continue to produce products of this quality, that will long continue. I never thought I would come across a camera that I enjoyed using as much as the Ricoh GR. However, the X100F certainly gives it a run for it's money. Not only is it fun to shoot with, beautiful to look at, but it really packs a punch and delivers fantastic images quality.
It's not without it's quirks, but I feel almost that if Fujifilm addressed them, then nobody would really need to buy the X-Pro or XT range of cameras (other than for the interchangeable lenses), it's almost perfect. It is certainly not cheap, but this camera delivers more than good quality images, it makes photography a joy again and makes you want to get out and shoot more and whether you are an amateur or a Pro, that is something very special.
Leave a comment below with your experiences of your Fuji or if you have any suggestions for other great street cameras. Don’t forget to give it a like and a share, thanks.
Further Details
For a full specifications list, please visit: Fujifilm

If you are interested in purchasing, please find an affiliated link below. This will not cost you anything extra but I will receive a tiny percentage which will help me continue to make these reviews, thank you.
Sample Images


*Please note that these are smaller, compressed images and have been edited, they are not RAW files etc.
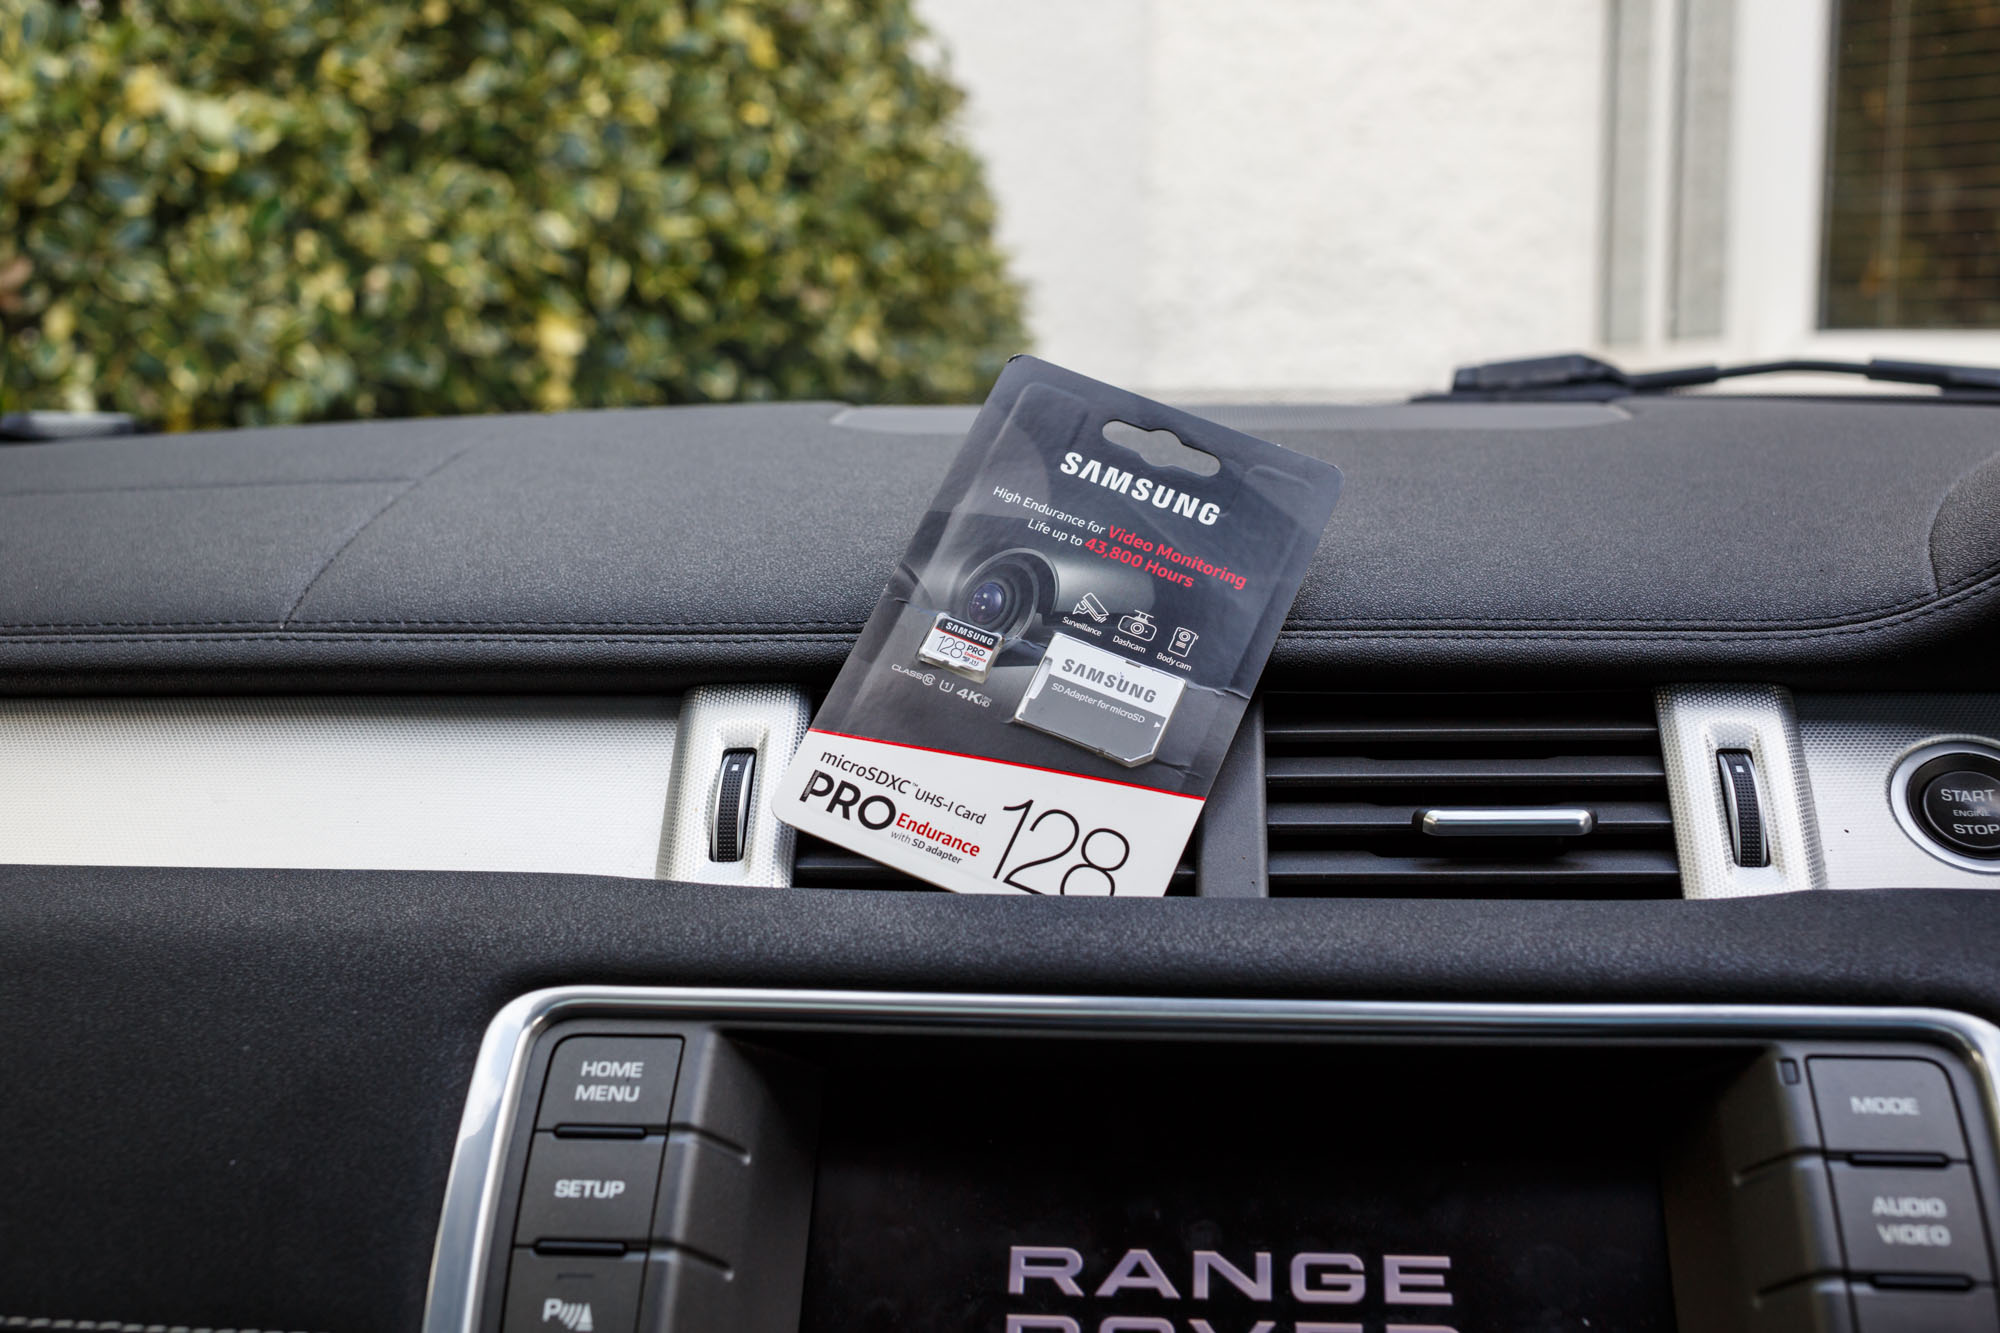
REVIEW: Samsung Pro Endurance 128gb MicroSDXC

You can never have enough storage! Although 128gb in a microSD (well, micro SDXC - but more of that later) is one hell of a lot of storage in a tiny package. The new Samsung PRO Endurance memory card is designed for continuous 'Video Monitoring', such as CCTV, Dash-cams & body cams. However, it is clearly useful for other storage applications. Boasting water/temperature/magnet and x-ray 'proofing', Samsung has clearly built this card to be rugged and to stand the test of time, and with 43,000 hours to fill, the little microSD will have a lot of it!


Capacities
32GB
64GB
128GB
FHD Recording
32GB - 17,520 hours
64GB - 26,280 hours
128GB - 43,800 hours
Form Factor
microSDHC and microSDXC (Includes SD adaptor)
Sequential Read - Up to 100MB/s
Sequential Write - Up to 30MB/s
Bus Speed Mode - UHS-1
Warranty
32GB - 2 Years
64GB - 3 Years
128GB - 5 Years
Operating Temperatures - From -25ºC to 85ºC


With such a wide range of memory cards available today, it's great to see a company like Samsung actually looking at problems and solving them. Like the memory pixel race with cameras, too many companies focus on the fast read and write speeds, when in actual fact the resilience of the memory card is just as important! Knowing that your data is safe is incredibly important and Samsung PRO Endurance memory card is certainly built to stand the test of time (and the elements!). Also, the huge storage capacity means that you'll be able to put it into your device and simply forget about it, taking the hassle out of managing your files.
Finally, if speed isn’t your main priority in a memory card, then the PRO Endurance card really does make a lot of sense. After all, these things are built to last and for storing important media (such as CCTV footage or bodycam recordings) it is important that the crucial data is safe, and with the PRO Endurance, it certainly gives you peace-of-mind. I’ll see how this card goes but don’t expect an update for at least, well, the next 43,000 hours!
For more details, please visit: Samsung
NEW RELEASE: SAMSUNG X5

Having previously reviewed Samsungs Portable SSD drive the T5 - I can honestly say I was blown away with it's performance. So when I learned that Samsung have gone way further with their latest iteration, the X5 - I was more than excited! Samsung certainly know their way around a portable drive and the stats for the X5 are pretty mind-bending.
The X5 is available in 2TB, 1TB and 500GB versions and has adopted the popular Thunderbolt 3 interface. At a 150grams, it is certainly pocketable and the metal body and shock resistant chassis certainly give you piece-of-mind against minor mishaps. However, the real show stopper is the performance:
Up to 2,800 MB/s sequential read speeds
Up to 2,300 MB/s sequential write speeds (500GB: up to 2,100 MB/s)
That's some pretty amazing read & write speeds, meaning this thing really will be the choice for those editing on the go! Price wise, the X5 starts at £359.99 for the 500GB model, £629.99 for the 1TB model and £1,249.99 for the 2TB model. I for one, can't wait to get my hands on one and see if they are really as quick as they say!
For more info, visit Samsung
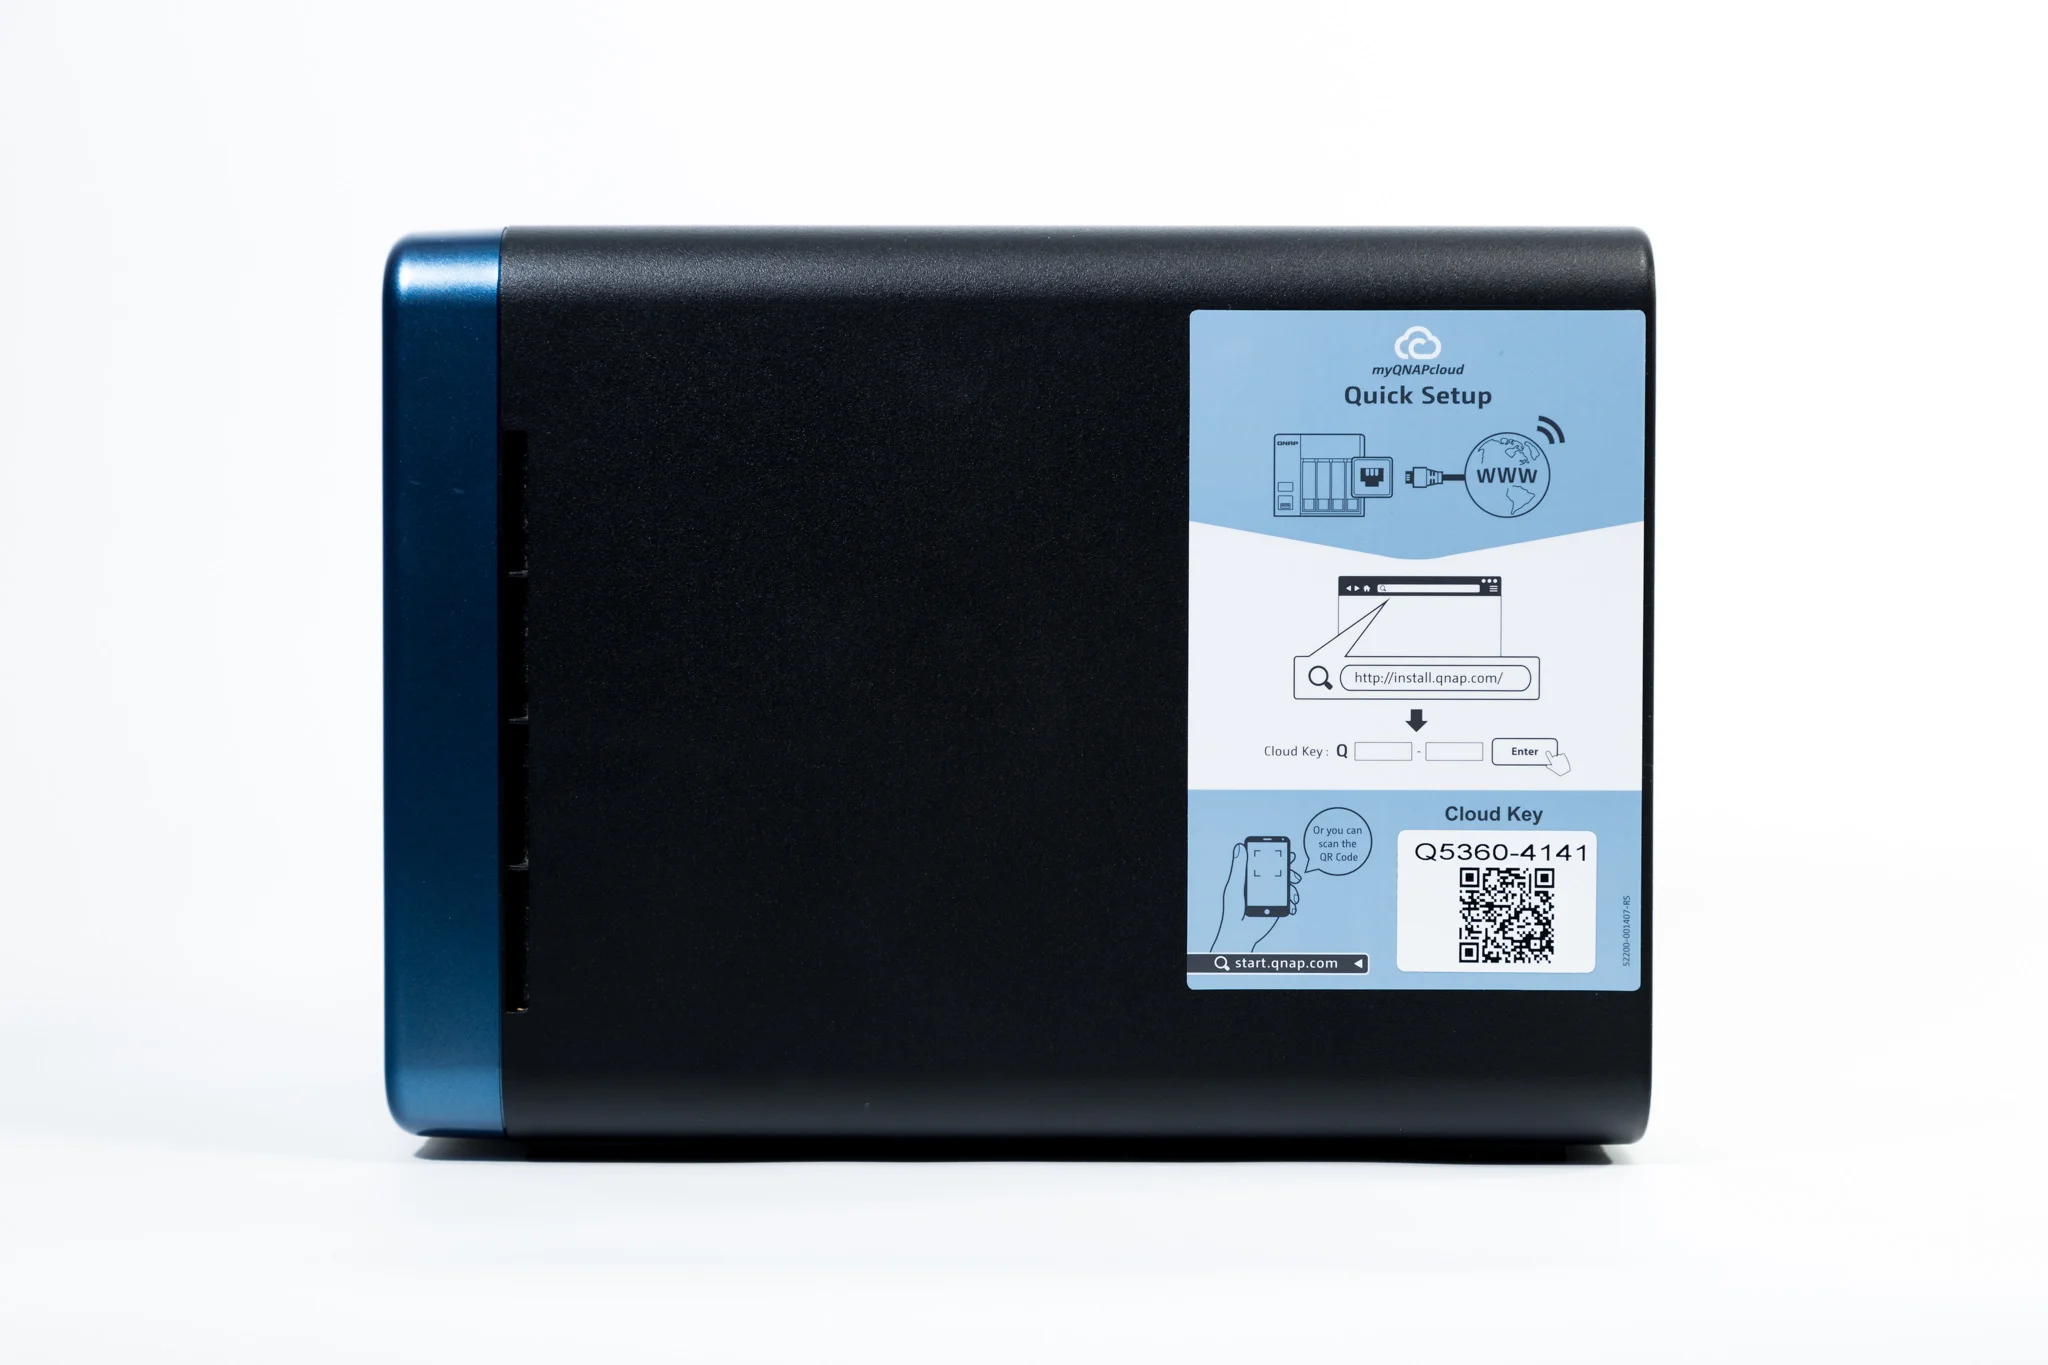
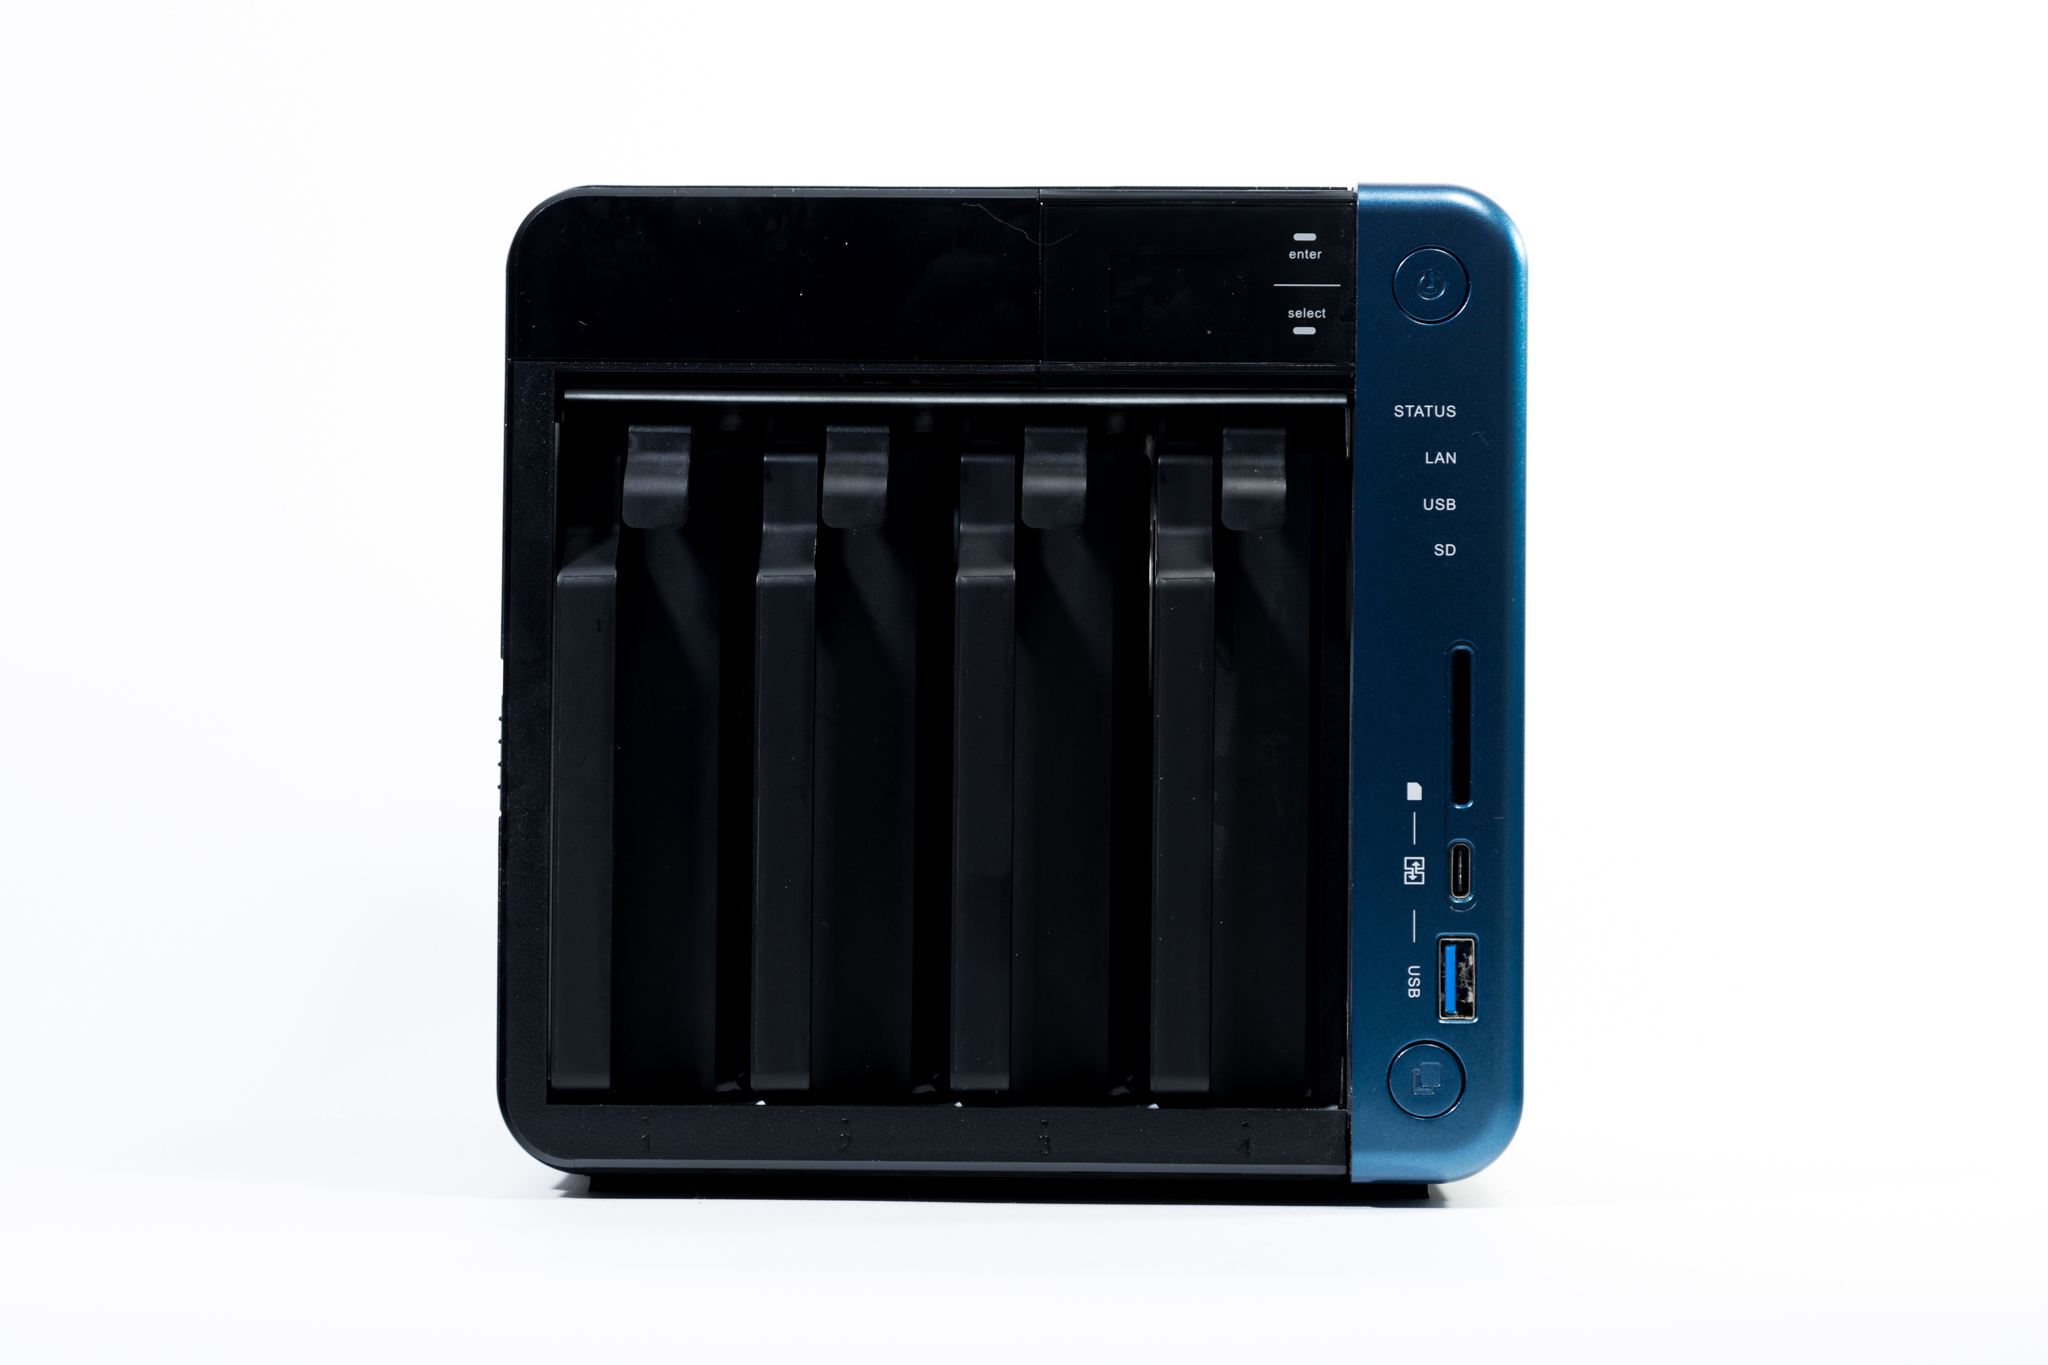
CASE STUDY: My Experiences of the QNAP TS-435B NAS

As you will have seen in my recent blog posts, I have focussed quite heavily on storage, the importance of protecting your data and Network Attached Storage (NAS). Having used a NAS system for over six months now, I feel in a good position to share my findings on whether it has helped me, any pitfalls I have found and if I would change anything about my setup.
Is NAS right for you?
The first thing to address is that not every storage solution is right for every photographer and there is definitely an element of choosing 'what fits for you'. I still continue to use small, portable hard drives when I travel but knowing that the vast majority of editing would be done at home, meant that I could afford to choose a solution that did not need to be portable. furthermore, I knew that the volume of storage I would need would be huge, in the Terabytes! Which automatically meant that Cloud Storage would be a bit of an issue. So rather quickly, I knew that I was looking at a 'home' based solution.
Secondly, I knew that I would be using multiple computers as (for my sins) I use both Mac and PC to edit on. So I need a system that was both flexible and could be used across a network. Naturally, NAS kept coming up as an option, so I decided to explore it a little deeper. Everyones needs will be slightly different, so doing your research is essential. however, NAS is such a versatile tool, as we will see, that it can really be adapted for most peoples needs.
Choosing the right NAS system
There really are hundreds of options out there and like cameras, they range from the very basic to the extremely complicated and the costs span a similar range, form quite affordable to very, very expensive! Due to the wide range of choice, I would set a realistic budget before even looking at requirements and try to stick to it! The second, important factor to consider is that you will (in most cases) also need to populate the NAS with hard disks, so don't forget to budget for the disks as well!
As with everything in photography, the costs soon add up so being budget conscious is essential. Once you have an idea of what you can spend, look at what your most 'essential' requirements are and go from there. Many NAS systems offer a plethora of additional services, such as the ability to be used as a virtual PC, a media centre, as 'cloud storage' - but these can be costly additions in some circumstances. Whereas if you know that your main concern is large storage that offers redundancy, you should be able to tick that box fairly simply. Once again, research is essential before taking the plunge!


How much Storage do I need?
This is a very definitely a 'how long is a piece of string' kind of question! Everybody's needs will be different but i applied some simple maths whilst working out what I would need. I looked at what I had shot over the past few years and noticed that with an increase in client work, my storage needs were growing roughly 20% a year. I was also shooting more video, which is very 'space hungry' and new that I aimed to grow this by around 20% a year as well. Then, I simply totted up what I was already using and added the required additional storage for the next three years, taking into account the expected rate of growth.
This gave me a figure of around 10 Terabytes, so with a degree of 'flexibility' built in, I knew that 12 Terabytes of storage should be sufficient. A couple of things to consider here are how much do you expect your requirements to grow (it will more than likely be different to mine!) and how many years do you want to protect yourself for? I know that every couple of years, I tend to upgrade my storage anyway, so building in three years of protection should see me right! Finally, you need to consider what RAID set up you are going for? No idea what RAID is? Read on...


Choosing the right RAID set up...
Now, this is where the fun really begins! At first, RAID, which stands for 'Redundant Array of Independent Disks' sounds like something straight out of a Sci-Fy film, and in a way, it is! It's a brilliant piece of technology but one that can seem quite daunting at first. In essence, choosing the right RAID is just a case of marrying your desired level of 'protection' with your budget. Why the emphasis on 'protection' - because there is a common misconception that RAID is 'Backup' and very simply, it's not. RAID offers certain protections against mechanical failure, so if you have a hard disk fail - the other disks in the RAID array will either be mirroring that data or can re-build it. What it does not protect against is 'human error' so you deleting a crucial file - as the disks sync, it will be deleted in all locations so that file is gone! Worst still, if all of your data is in one place, such as at home, if you a flooded or robbed etc. Say goodbye to your data!
Obviously, this does not mean that RAID is pointless, far from it. It just means that you have to consider your 'whole' data handling plan. Back to the RAID options, there are many different setups but the most common three that you will come across are:
RAID '0' - Disk stripping splits data across multiple disks to improve performance. Files are 'split' so that data transfer speeds are improved. There is no redundancy so if any data is lost, it is not recoverable using conventional methods.
RAID '1' - Disk mirroring - Two disks are used and they are read & written too simultaneously, meaning that if you have a disk failure, you (should) still have one 'good' disk. This means you can simpy install a new disk and copy all of the data across. However, this is very 'storage' heavy, as you are duplicating data and does not offer the same performance increases of RAID '0'.
RAID '5' - Stripping with parity - A very good choice as it common uses three or more disks and takes the stripping performance of RAID '0' and adds the Parity (small pieces of usable information that can recover large pieces of lost information) so you have the redundancy of RAID '1' as data can be used from the good disks to rebuild the bad disk. The obvious disadvantage is having to buy at least one additional disk.
RAID '6' - Very similar to RAID '5' but with additional disks for increased performance and parity. This means that it is possible for two disks to fail and still offer redundancy to rebuild lost data.
There are alternative options and once again, it is advisable to do some research before choosing what works best for you. I personally chose RAID '1' as my main concern is disk failure. However, as we will look at later, this is not considered a 'backup' and requires you to do some further steps to fully protect your data.
Setting up a NAS for the first time!
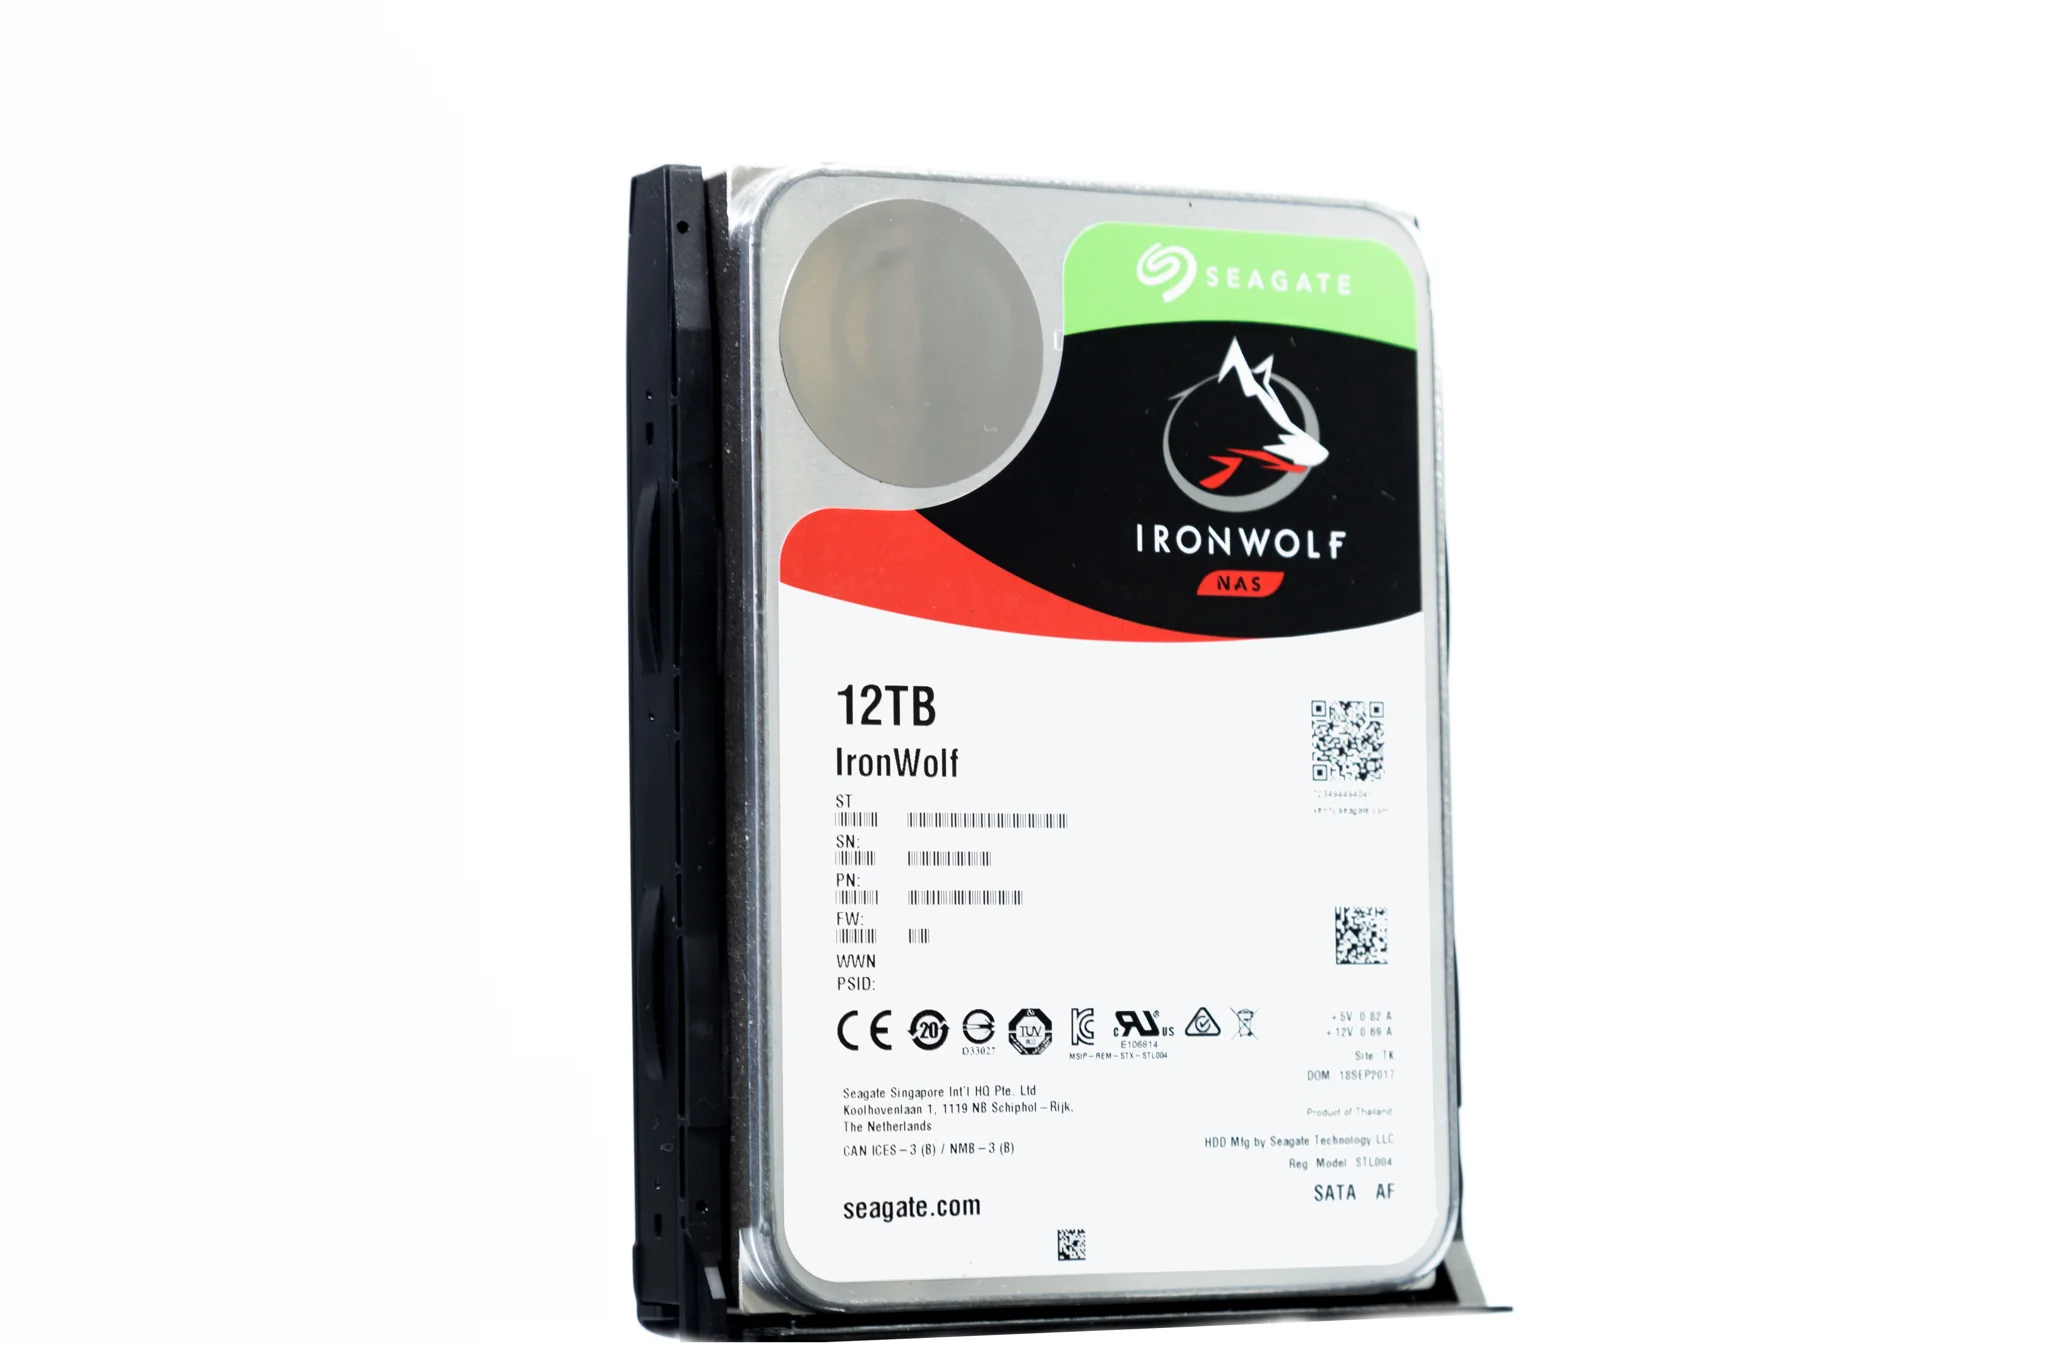
You've chosen what you want, you've hit the 'buy now' button and a few days later, the Postie drops off your shiny new toy to your house, what now? Well setting up a NAS can seem like a very daunting process, but in actual fact, it is quite simple, or at least, my experience was. I would be using the QNAP TS-453B and Seagate Ironwolf drives. Installation was simple and the whole setup process was both quicker and simplerthan I had imagined, you can see it here:
Using a NAS over time
So now to the juicy stuff, how have I actually found using a NAS? Well, in short, very good! I have been very fortunate not being in a position where I have had a disk fail and I put this down, in some part, to the quality of the Seagate Irownolf drives, they really are beasts! However, knowing that I have an additional layer of protection against drive failure really does offer a great piece of mind.
I had to alter my workflow slightly, as previously I had been moving data onto external hard drives and praying that they did not fail! The NAS takes away some of that concern, but as previously stated, it can not be classed as fully 'backed-up' until the data is in at least three places, including 'off-site'. So this has meant that I need to religiously save my most important data to an offsite location such as DropBox, Google Drive or an external drive kept somewhere else - and I still haven't quite cracked this one! As always, 'life' gets in the way and before you know it, you've gone a couple of months without making sure your data is protected against fire, theft, flooding etc.
However, all this aside, as a professional photographer & videographer, I really don't know how I ever lived without a NAS before. The features on the QNAP TS-435B are immense, the fact that you can create multiple accounts for different users, use it as 'cloud storage' for when you are away from home, use share links for accessing data for clients etc. Furthermore, it has Photo Station which makes storing images incredibly simple - show how versatile the system can be and this is before you even touch on the media centre features and the host of other capabilities that NAS's can offer.
Using the QNAP has proven to be a piece of cake. Once the initial setup was completed, managing my data became second nature. I only really use it as a mass storage option, even though it has many other features. Using it like a data vault means that I can move files from my Mac & PC to the NAS where the QNAP quickly & quietly takes care of the dirty work of duplicating the data across the two disks. Accessing files is quick and simple and there are a host of ways of doing so, whether you are at home, in the office or travelling. my most common approach is to use the intuitive files structure to access my 'archived' files, should someone order a print etc.

Final Thoughts
In short, I would class a good NAS setup and a well thought out data workflow as essential as the camera and lenses you use. Our responsibility as photographers does not end with capturing and editing the image. Whether you are a professional or an amateur, being able to protect your data and being able to understand where it is, how it is protected and how it will be stored for years to come is essential. The QNAP really is a 'do it all' kind of tool and when teamed up with high-quality disks such as the Ironwolf NAS rated disks, it allows me the piece-of-mind to be able to concentrate on the important stuff of planning shoots and delivering to clients, rather than worrying about the next drive disaster and what I would do if I lost it all!
For more information on the specifics products, please visit:
QNAP - Click HERE
Seagate - Click HERE
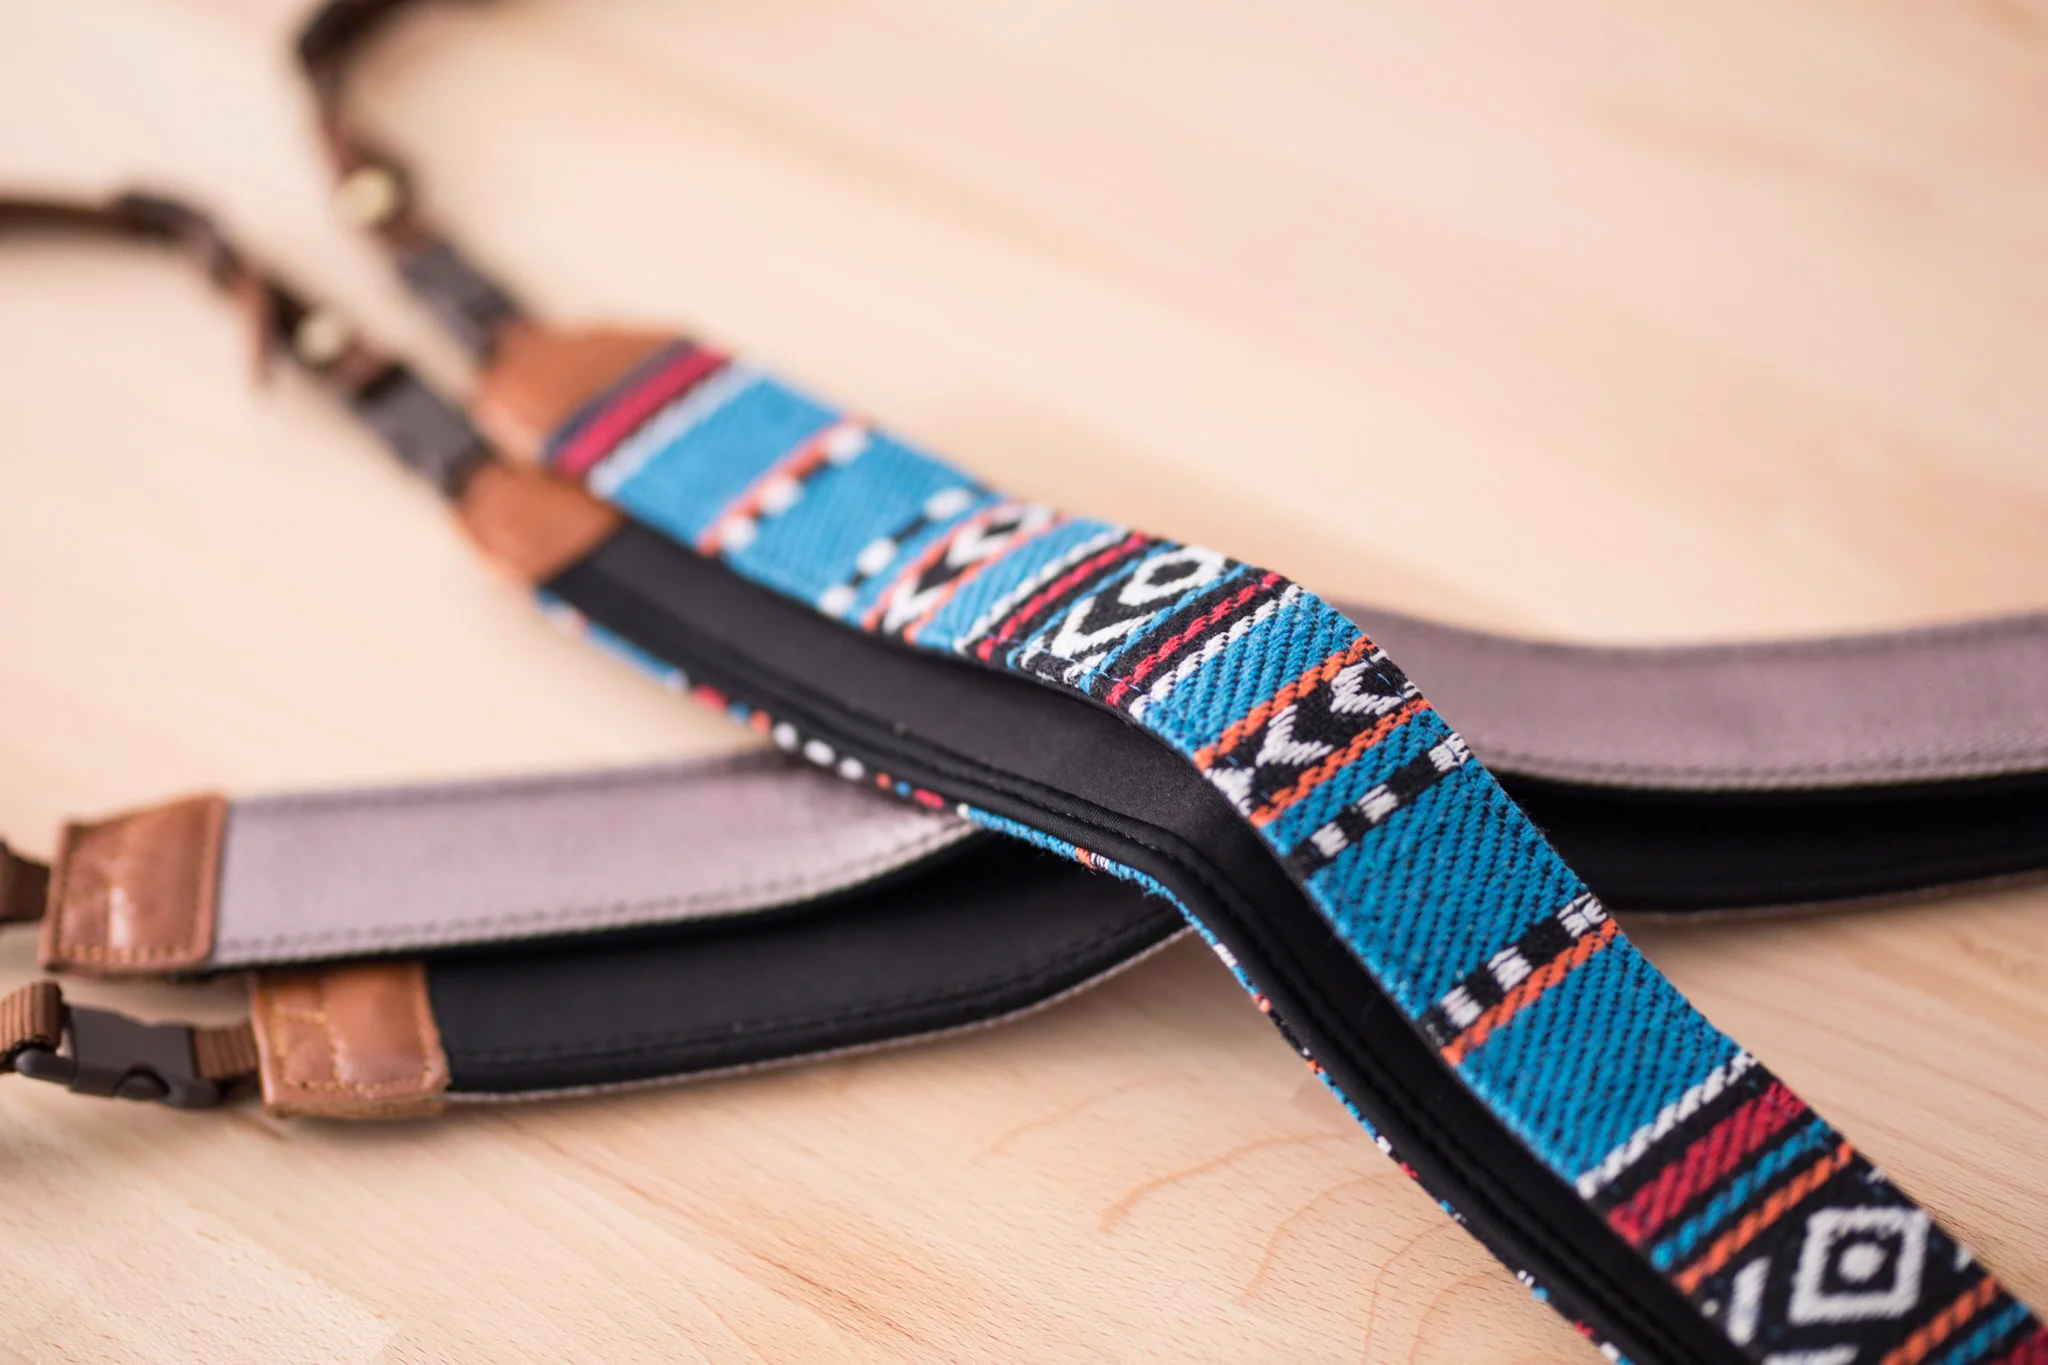
!Mo Straps - Camera Fashion!

Let's face it, Camera's can be a bit boring looking? They're mostly black, plastic boxes all, full of buttons and dials. So what do you do if you fancy adding a bit of bling to your camera? Well the range of straps from !Mo are a great starting point! The Hong Kong based company certainly have a very clear focus on fun and all of their products seem to have their own personalities. But are they just for show? I tried a couple on for size.


The first thing that really grabs you, apart from the colours, is the quality and attention to detail. The straps are handmade and the quality really shows. With three ranges of straps, Neoprene, Leather and Cotton Tape, there is something for everyone. The straps come well packaged, further attention to detail and as soon as you take them out of the bag, you can feel the quality of the materials in your hand.
I tried the 'Indian Blanket' and the 'Rustic Brown' - both of which were Neoprene straps with a comfortable padding and quality stitching. The straps featured a 'quick release' system to easily remove the strap from the camera and even swap the straps, depending on how you want your camera to look. The two main advantages of this are the versatility to change the appearance of your camera equipment (you might not want anything too 'bright' when shooting in certain areas) and the ease of removing the strap when shooting Long Exposures etc. when a strap could cause camera shake.


Installing the strap on my Bronica ETRS was very simple. The nylon strap connectors simply looped through the eyelets on the camera and attached reassuringly, so you know your camera isn't going anywhere! Using the straps on the Bronica was ideal, as it has a 'top-down' view for composing, so taking the weight off my arms was ideal, whilst having the freedom to move around and compose my image.
The straps are certainly very practical and were more than capable of holding my weighty 5D Mkiii & 70-200mm lens, yet bringing a much-needed dash of colour to my camera kit. Overall, I am very impressed with both the quality and the styling and would highly recommend the !Mo Straps for anyone looking to brighten up their gear whilst needing a strong & comfortable strap to hold their prized posessions!


For more about !Mo Straps and their full range of products, check out their website:
The Importance of Protecting your data - My Data Management Plan

I have spoken a lot recently about NAS & RAID and allsorts of other technical stuff to do with data storage, but what does it all mean and what is the point? Hopefully, this blog post will help explain why it is important to protect your data and a look at the best ways to do it.
Imagine losing everything…
For many of us Photographers & Videographers, our data is our most important asset, arguably even more important than our camera gear. I still sell prints of images I took four or five years ago so the idea of losing my files fills me with a crippling sense of anxiety. However, it’s not just as simple as losing a few photos or a Lightroom catalog. I have invoices, agreements, personal projects and many other important documents that, if they were to simply disappear, would grind my business to a halt. Yet the vast majority of us only ever decided to protect our data ‘after’ we have had a major catastrophe, so now is the time to get proactive!
What are the options?
Before we delve too deep into some of the methods available, it’s worth taking a step back and looking at the bigger picture. Most of us either work from home or an office but in almost all circumstances, we leave our precious data in one place. I, for instance, work from home and choose not too rent an additional office space as I have everything I need in a dedicated ‘office’ (spare room) at home. However, here is the first issue. All of my data is in one place. If I was to be burgled, flooded or if there were a fire, my data (hard drives) would literally go up in smoke, removing any possibility of recovering them.
With this in mind, it is important that we remember that many of the options that we will look at are not failsafes, they are not legitimate ‘back ups’ of your data. Only when the data is being stored in multiple safe locations (off site away from your home/office) and backed up on a regular basis can it be considered safe. To be honest, even then there are still risks involved.
Cloud Storage
If ‘offsite’ backup is a must, then it would be easy to think that cloud storage is a bit of a no-brainer. Though it certainly has an element safety, knowing that your data is ‘in the cloud’ and not vulnerable to such earthly things as fire and theft, the truth is, it’s not 100% safe. In a world of cyber crime, even large organisations such as the NHS have surcome to data being held at ransom.
The other downside to cloud storage is that most commonly, space is at a premium with even the more generous service only offering around 1tb of storage and there can be restrictions on the file types that can be stored. The other major issue is that depending on your internet connection, it can be painfully slow saving and accessing your data and if, like me, you have multiple terabytes of data, you’ve pretty much had it.
NAS & RAID
He we go with the technical stuff again. I will attempt to describe these in as basic terms of possible. One of the main threats that we have to our data is the chance of a mechanical error and losing a hard drive to a technical fault. Although there are services out there that can attempt to recover lost data, there is no guarantee. So a clever option is Network Attached Storage or NAS for short. NAS is a centralised storage device that can allow multiple users to access data view a network (or LAN). NAS’s are commonly made up of one or more hard drives which are referred to as a ‘Redundant Array of Independent Disks’ or RAID for short.
The purpose of RAID is to protect against loss of data by spreading or mirroring that data across multiple disks. We will look at a few common RAID options in a future post but see it as a carbon copier for your data. If you lose one disk, the other disks will have your precious data saved, ready to be restored to a new disk. However, the major downside of this is that although it protects against mechanical loss of data, it is still only stored in one place - so we still have the risk of fire/flood/theft etc.
The Blended Option.
I’m hoping I may have coined the phrase but a great solution for protecting against loss of data is to ‘blend’ all of the options available to you. So in essence, you would have a NAS setup in your home or office, where multiple users could access and store data. The NAS would have an appropriate RAID setup to protect against mechanical loss. The most important data would then be copied to a cloud service that automatically updates on a regular basis, to add in an additional layer of protection.
Taking things one step further, for those that are looking for the ultimate in protection, it would be possible to have another RAIDed NAS system kept off site (maybe at a friends home or office) that ‘backs up’ data so if there were a fire in one location - all data should be saved somewhere else. Now, this would be an extremely costly measure and a simpler option may be to simply rotate a group of hard drives and once a month - mirror the backup disks with your working disks and then store them off site. It’s worth noting at this point though that even by going to these extremes, there are still other potential risks such as file corruption, so before investing it really is advisable to do as much research as possible, to find the best option for you.
My Data Management Workflow
I’m not an expert, I just know what works for me, but you may find something useful in the way I manage data. Seeing as the majority of my ‘data’ are image or video files, the first thing I do is make sure I have plenty of fast CF/SD cards and if I’m shooting really important work, I will write to two cards at once, you know, just in case.
When I get the data home, I make sure that I import the RAW files to Lightroom immediately. Before I go out on a new shoot, I always format the memory card in the camera, by importing the images immediately to Lightroom, I ensure that I won’t ‘accidentally’ delete all the files from a previous shoot. I then save the images into a ‘working’ folder structure on either my MacBook or PC. By doing this, I am using the internal hard drive of the computer (both MacBook and PC have SSD drives for improved performance) for editing, as trying to edit direct from the NAS is possible, but not as efficient as using the internal SSD.
Once the edits are complete, I export the completed images to a DropBox folder as medium res Jpeg files and for images I know that I will print, I export the Tiff/PSD files to a ‘print’ folder. At this point, I have a copy of the file on my working hard drive and an output file in DropBox. The next step is moving the working folder in Lightroom from my internal SSD to the NAS. Lightroom does an excellent job of folder management, meaning I don’t need to go into Finder/My Computer and start copy & pasting folders to move them. I have the NAS set up as an ‘Archive’ folder in Lightroom and can simply move the project I am working on from the SSD to the Archive by dragging & dropping.
Once the data is on the NAS, I am using a RAID 1 setup which mirrors the data from one disk to another meaning that if a disk fails - I can still recover from the working disk. The final step (and the most crucial in terms of protecting against fire/theft etc) is taking a regular copy of the most important projects and leaving them on an encrypted external Hard drive, with a friend, so they are stored off site. Now this final step is not the best method as it does not protect all data and there are other inherent risks (losing the disk in transport, finding someone you trust enough etc!) but it is better than nothing!
All of this may seem a little bit excessive but when faced with the prospect of losing years worth of valuable data, it suddenly becomes quite appealing. The truth is, once it’s set up, it’s actually remarkably easy to manage and the biggest difficult is forming the new habits to make sure you are treating your data with the respect it deserves. I would certainly suggest looking at a NAS setup at a minimum but also consider how you can store your data in multiple locations. I’m pretty certain that this won’t be the end of my data management journey but for now, I feel a lot happier knowing that my data is in safe hands.